PiCy - Raspberry Pi Cyborg
Instructions for building your PiCyPack kit
Required bits
- Raspberry Pi and a method of powering the Pi
- Flash card with software
- PiCy Pack kit
- 2xAA batteries
- Soldering iron and solder (if you have the unsoldered version)
- For remote control, you will need a method of communication to the RPI such as a Ethernet cable, wifi dongle, Bluetooth adaptor etc. although you can program steps without this see the Turtle code examples here
Building
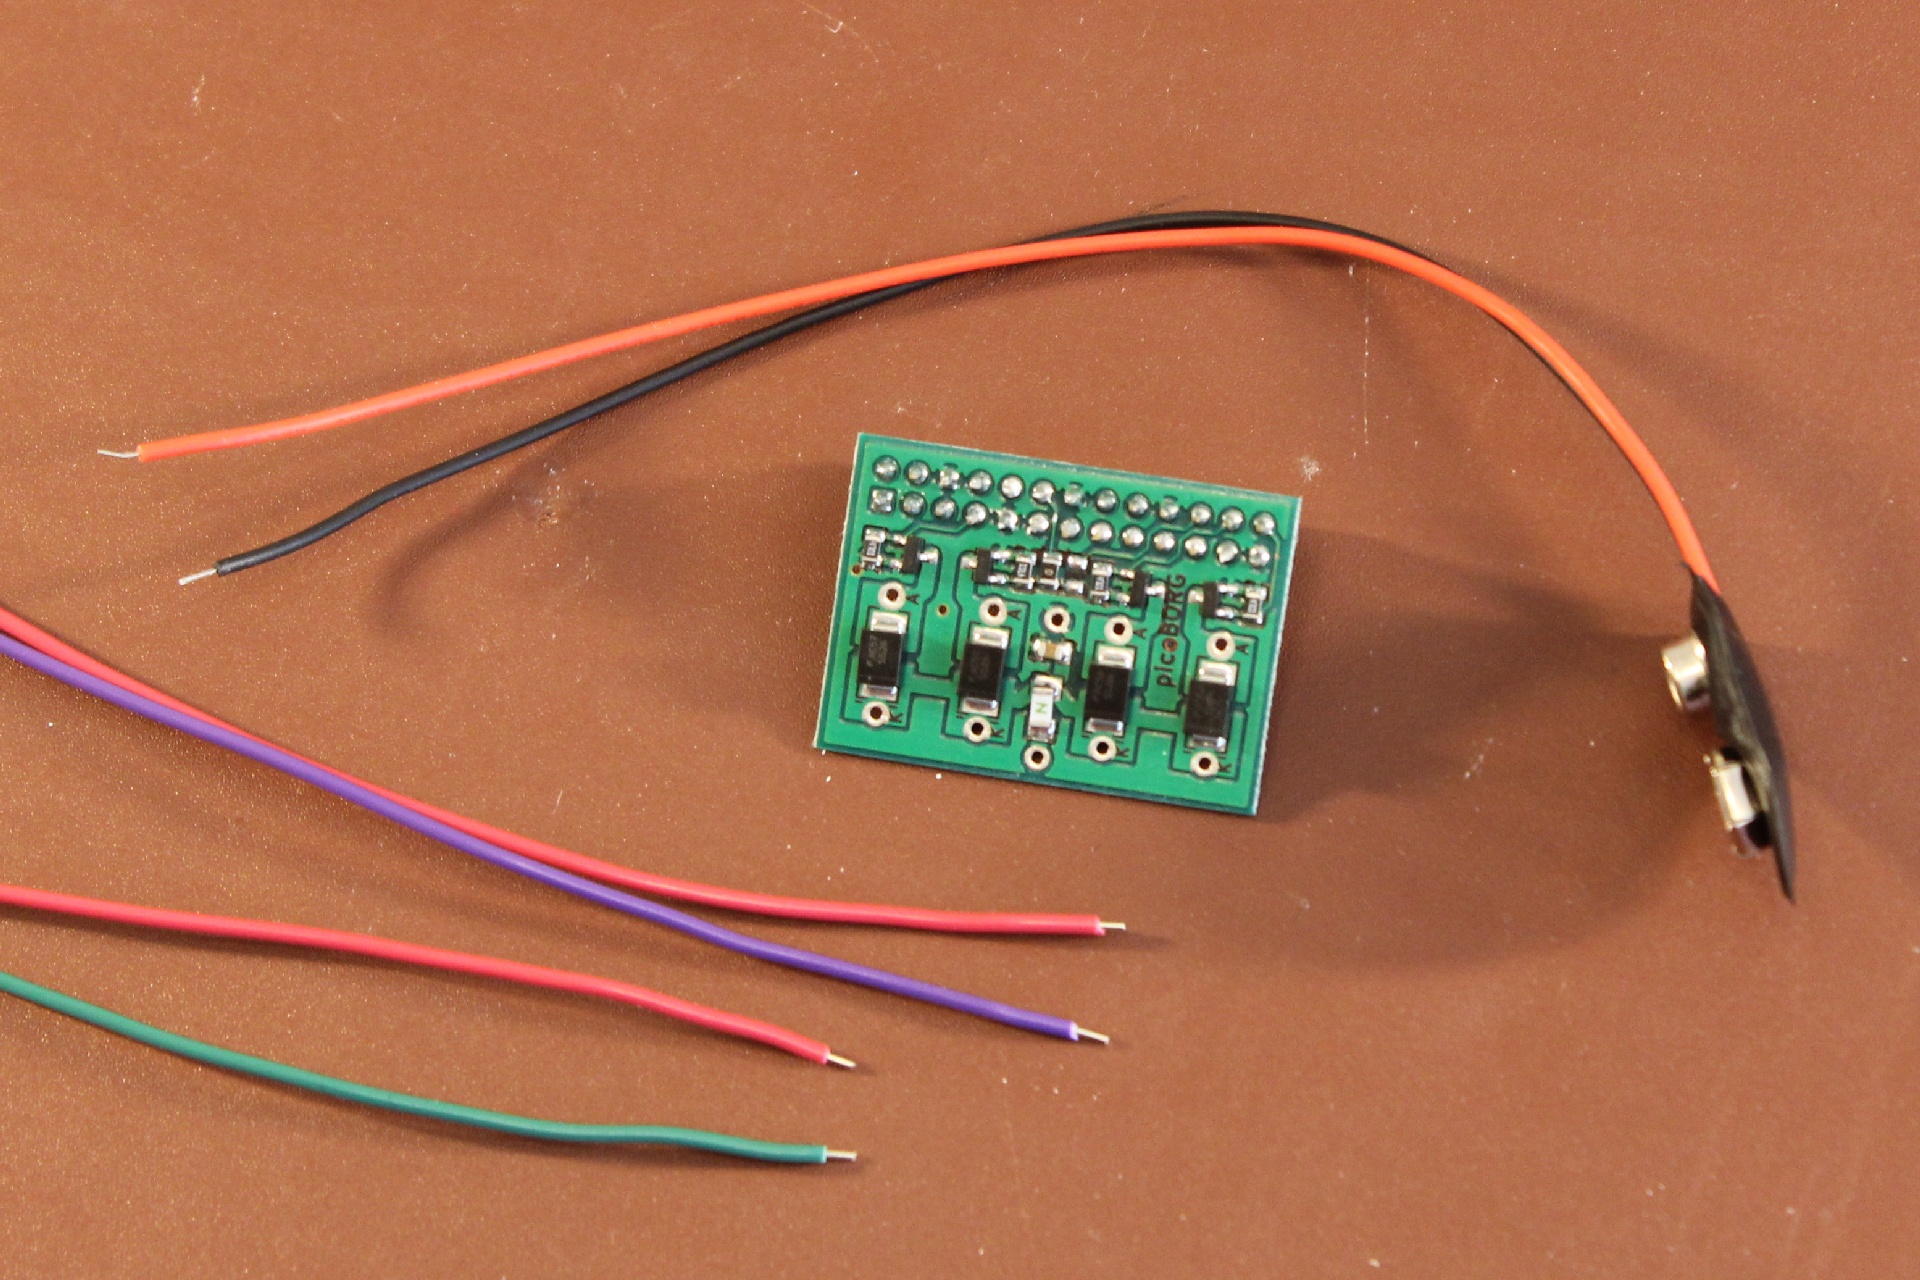
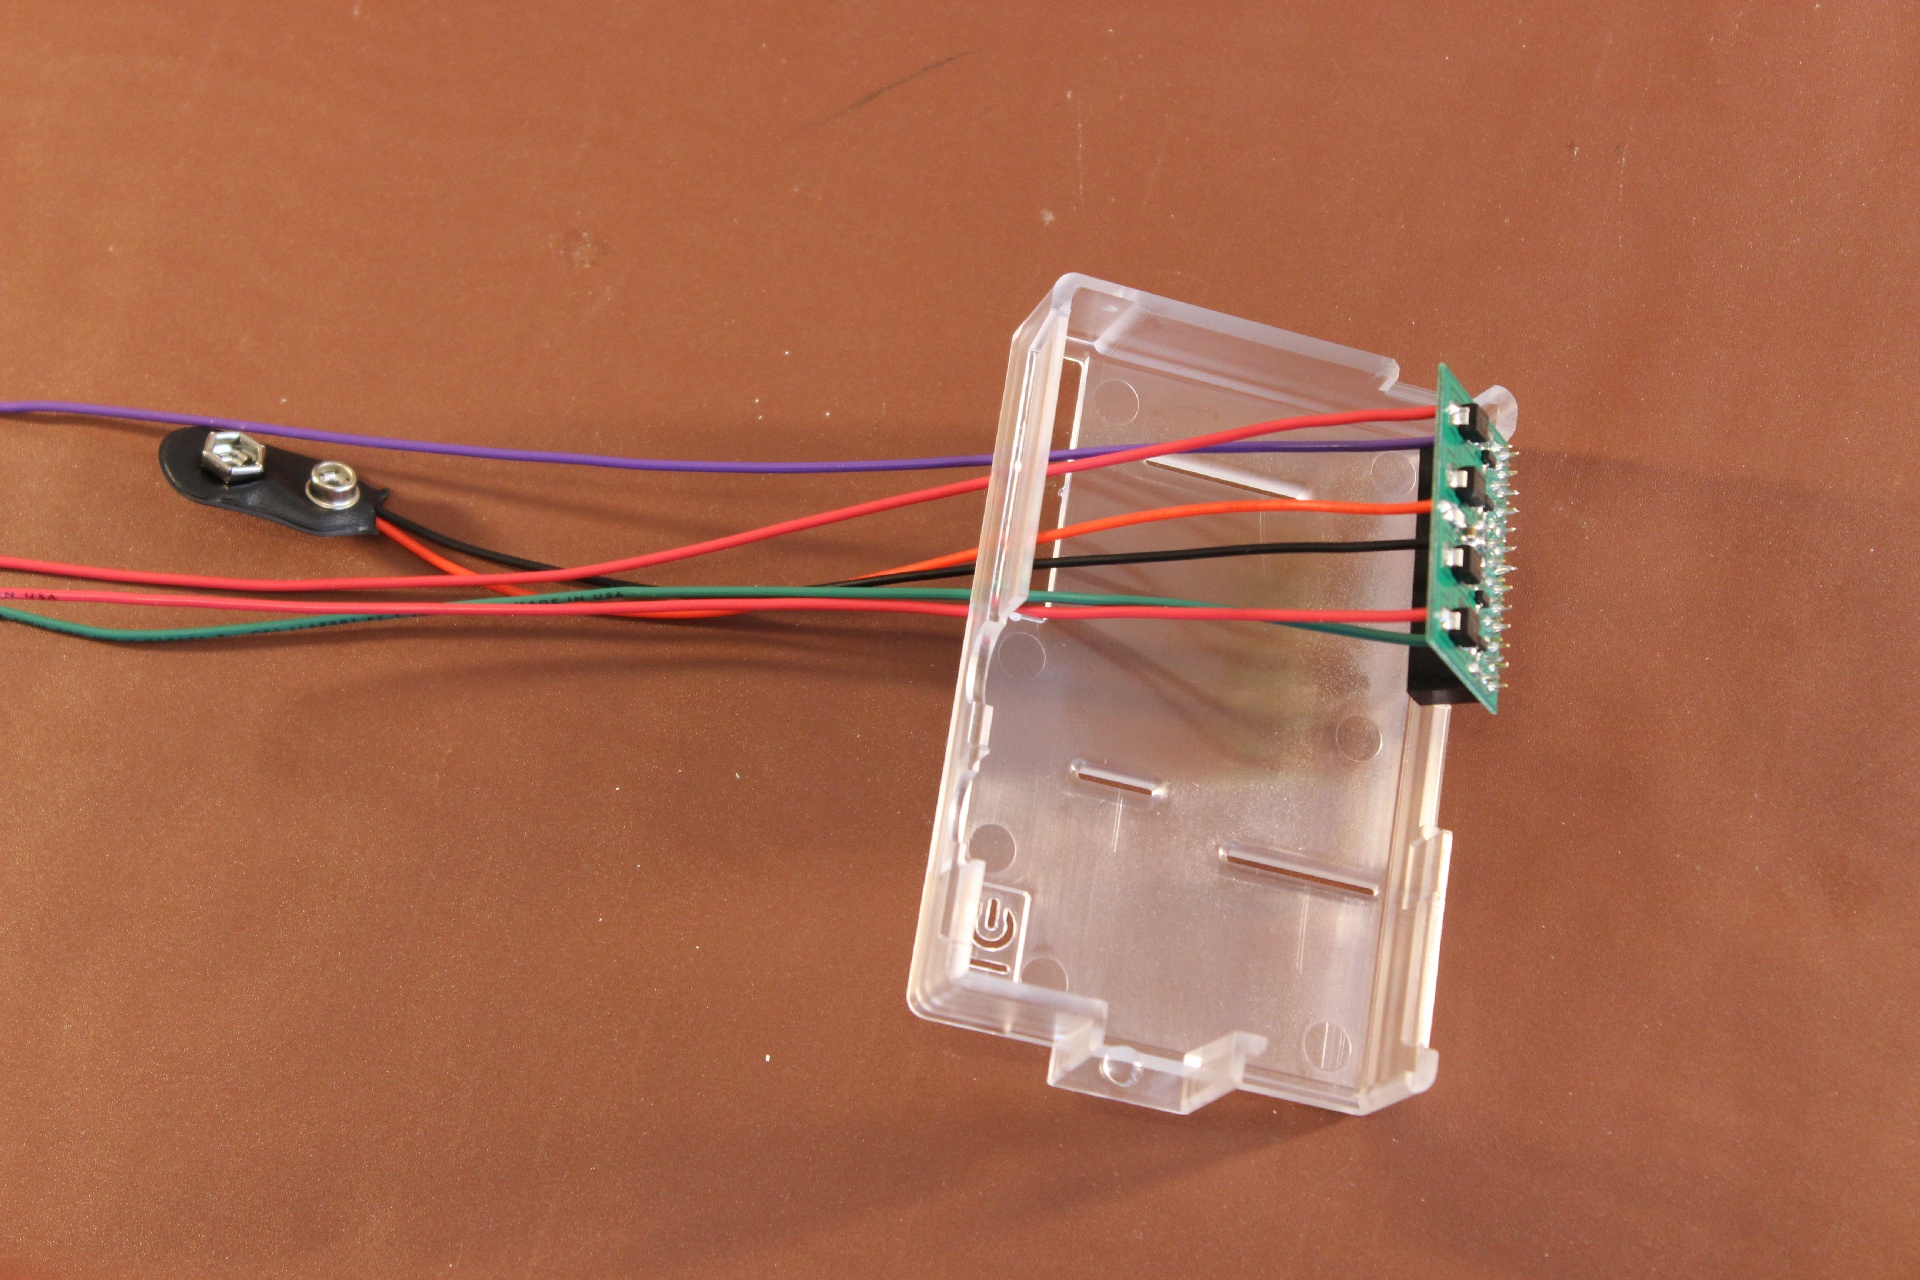
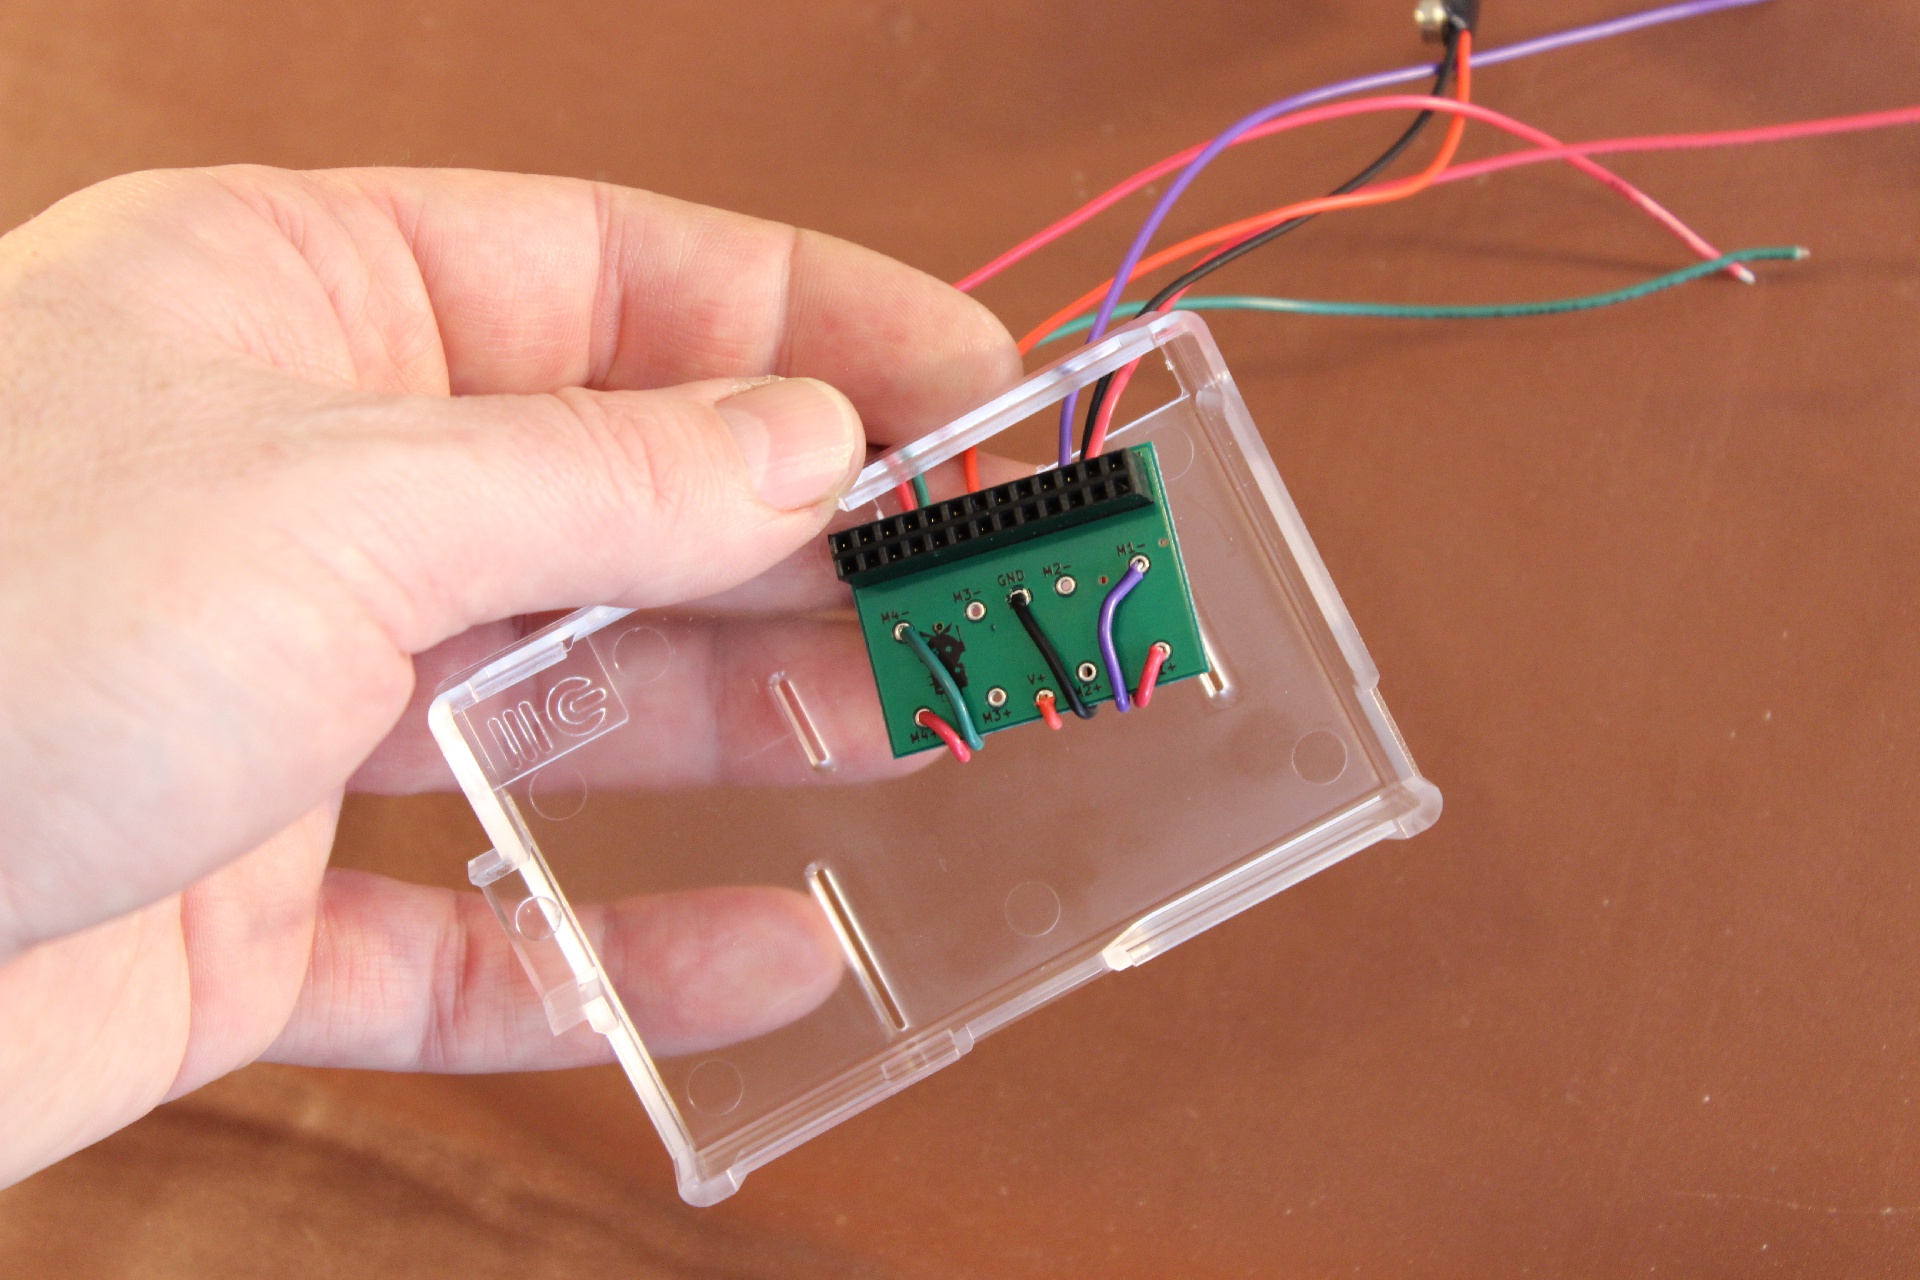
First solder cables and battery connector onto PicoBorg as per images.- Make sure all the red cables are connected to + (plus)
- Purple and Green cables should be connected to M1- and M4-
- Black should be connected to GND.
It’s strongly advised you get someone to help you soldering, and read up and learn about it if you aren’t used to it, but soldering is a pretty important aspect of electronics, so it's worth learning well.


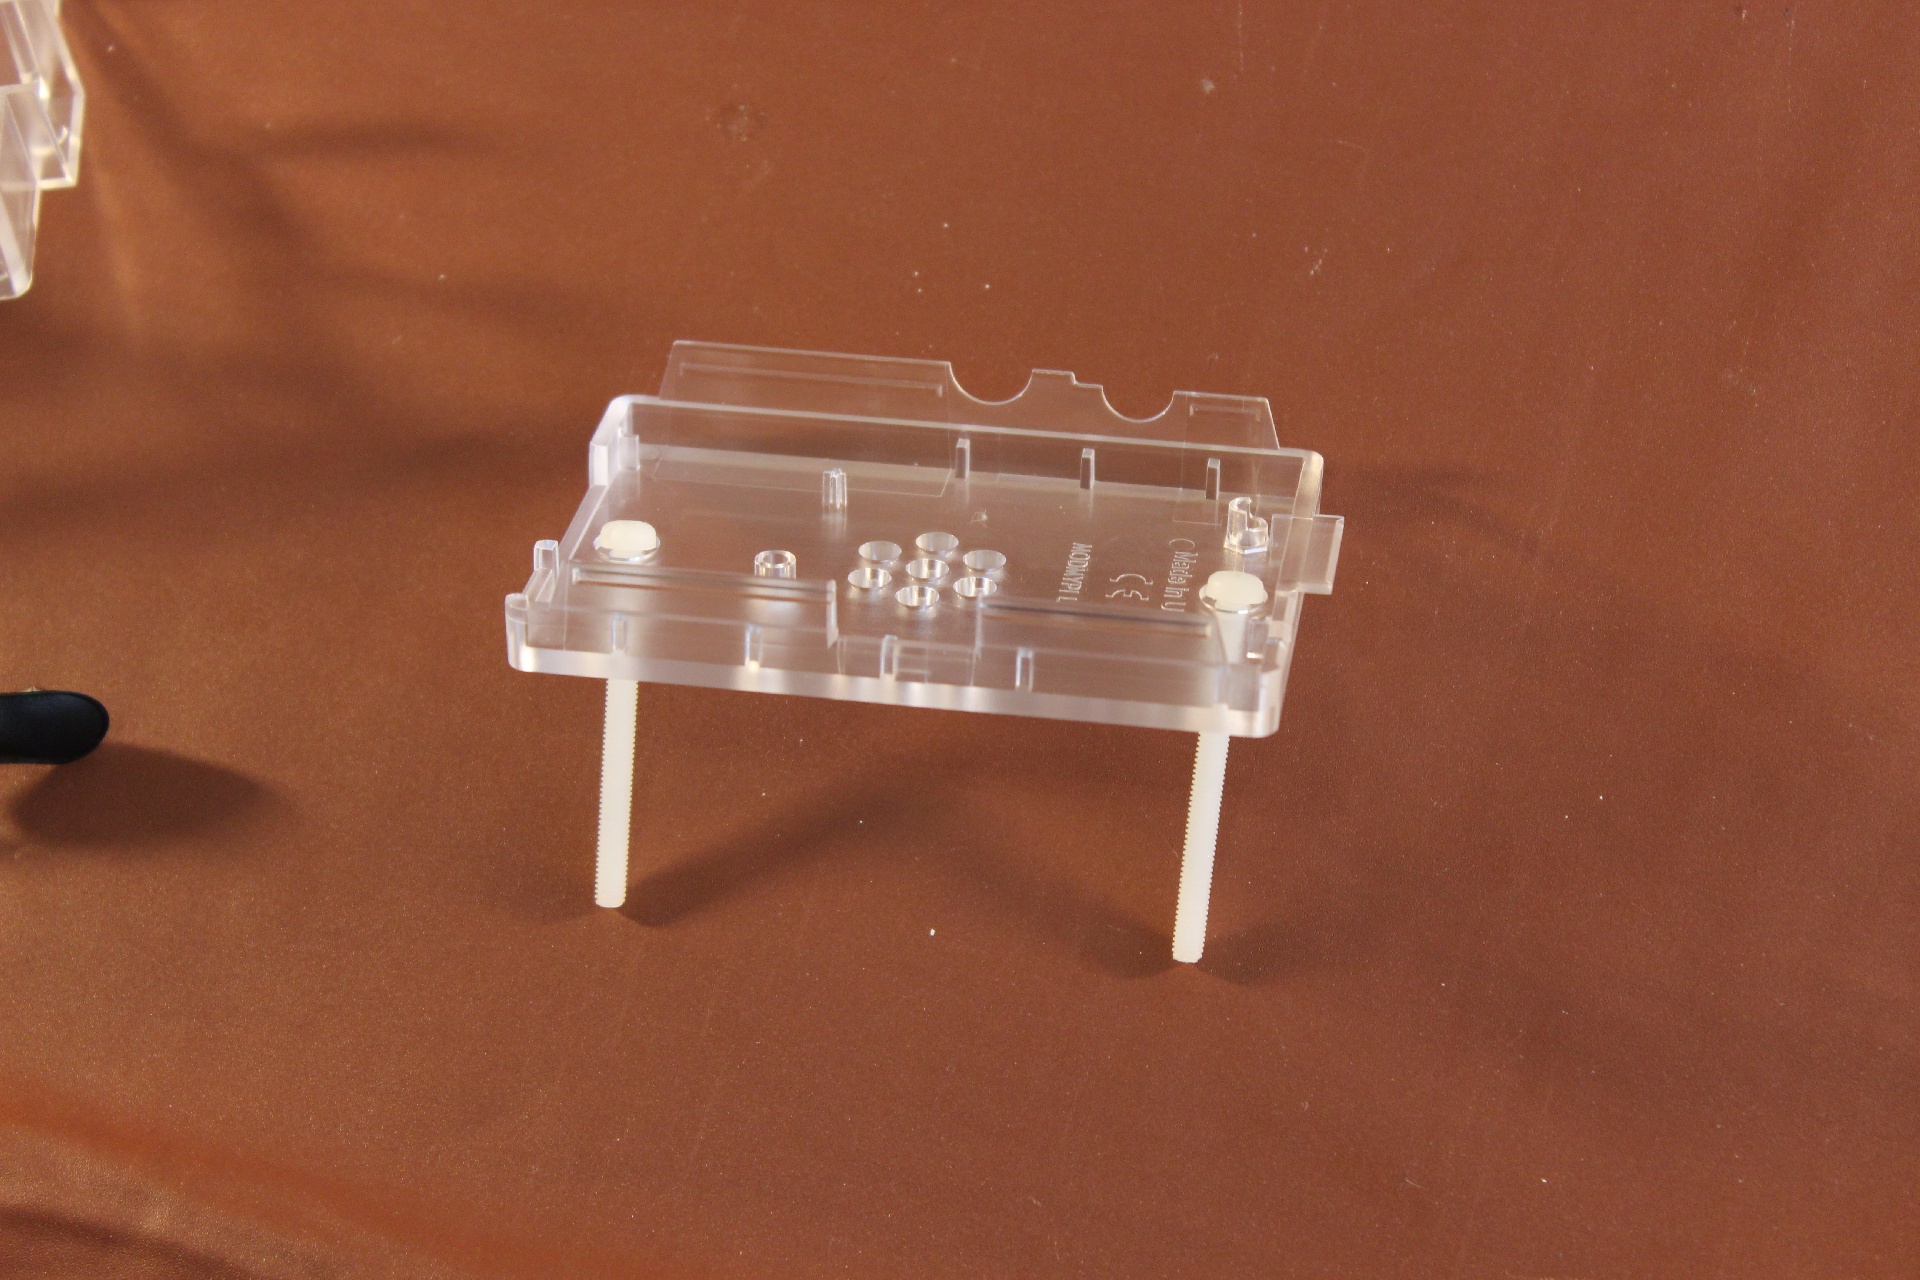
Next, pop the expansion tab out of the case. With a little force with a screwdriver, it should come off fairly easily.

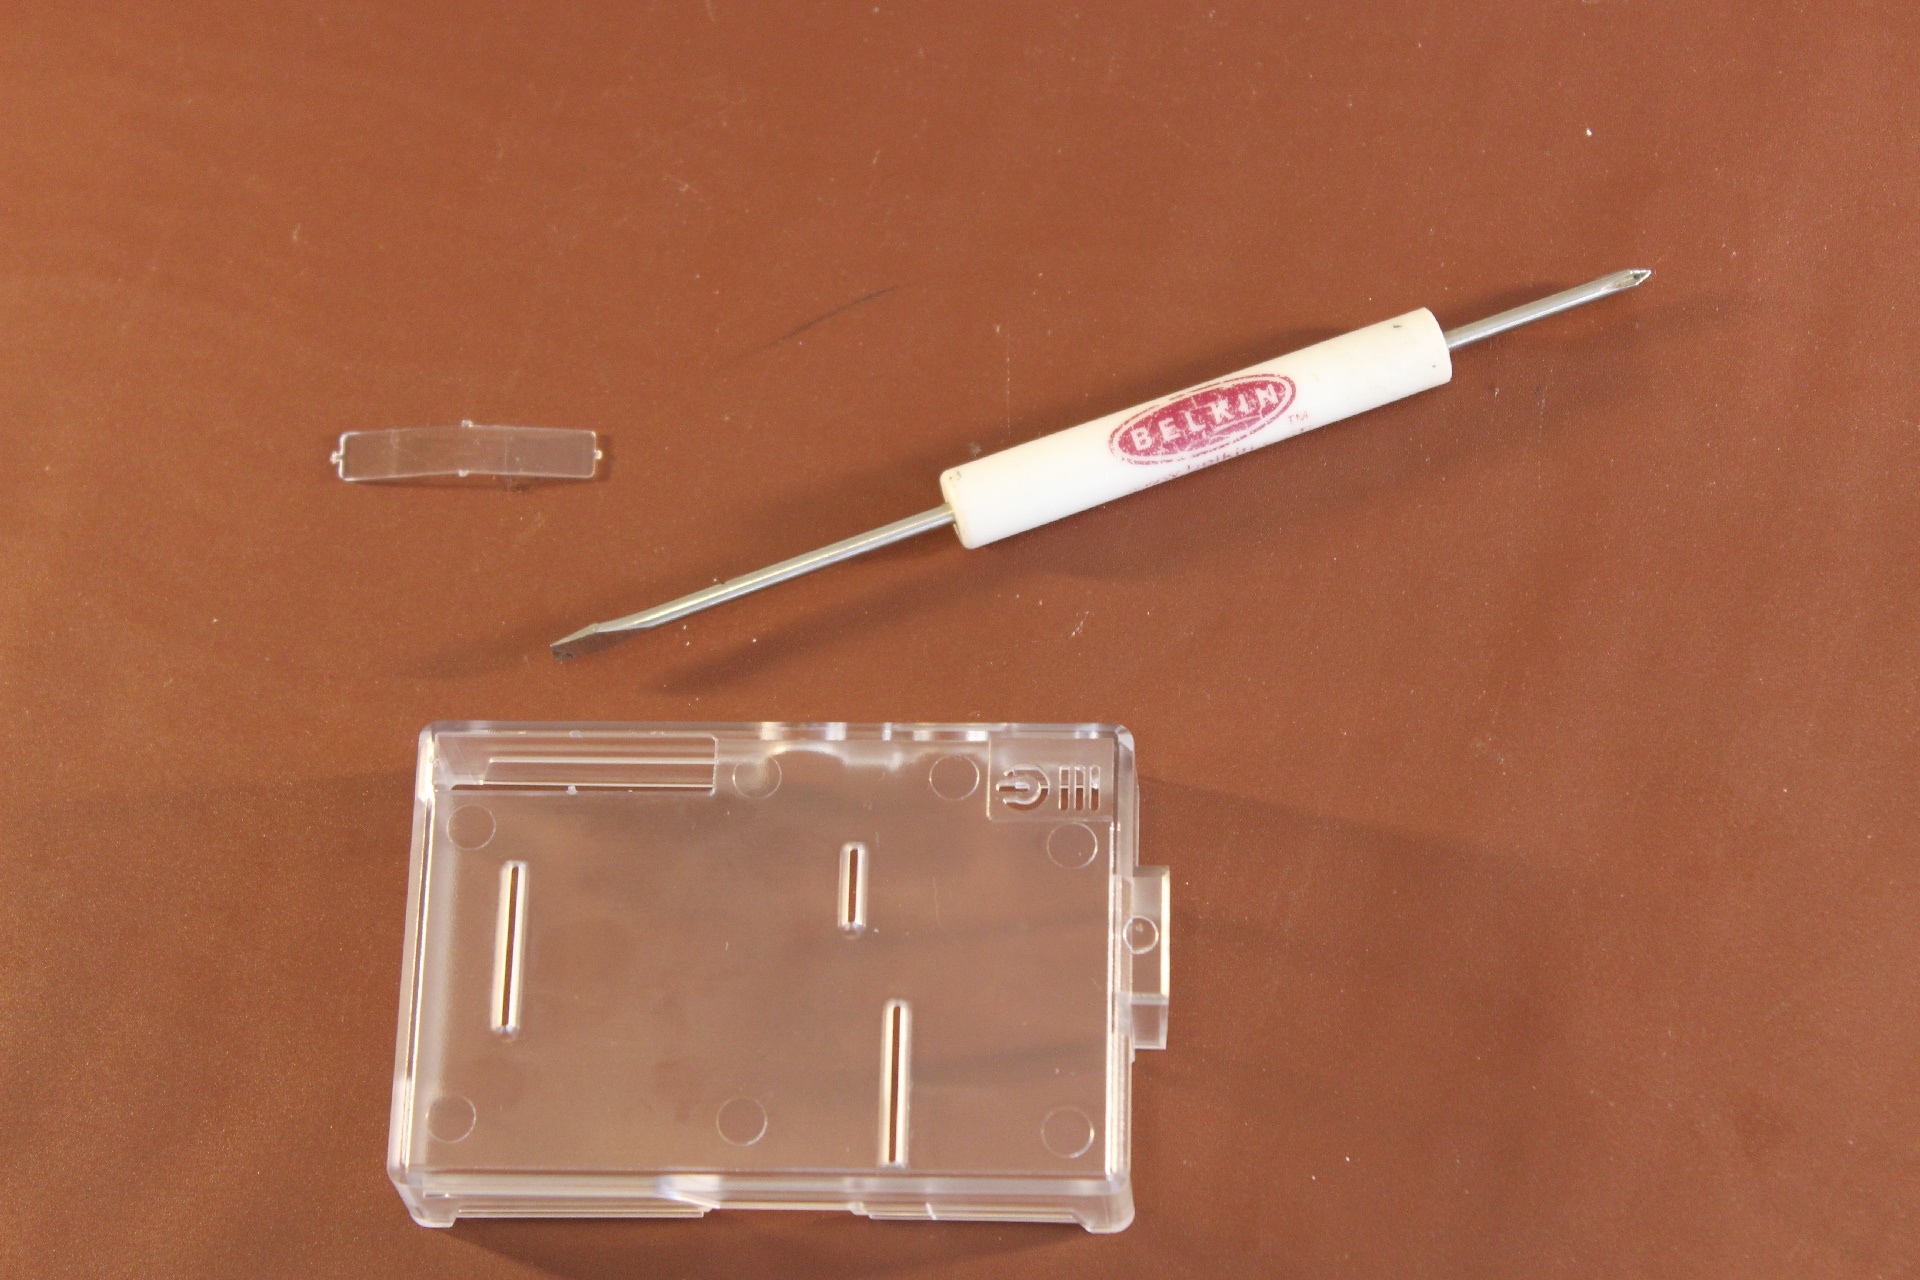
Thread the cables and battery connector through the expansion tab hole.
Bend cables directly down the PicoBorg, then around the other side as per diagram.
Fit the long nylon screws, and secure them with the nylon nuts. You can optionally also mount your Raspberry Pi to the case using the metal screws.


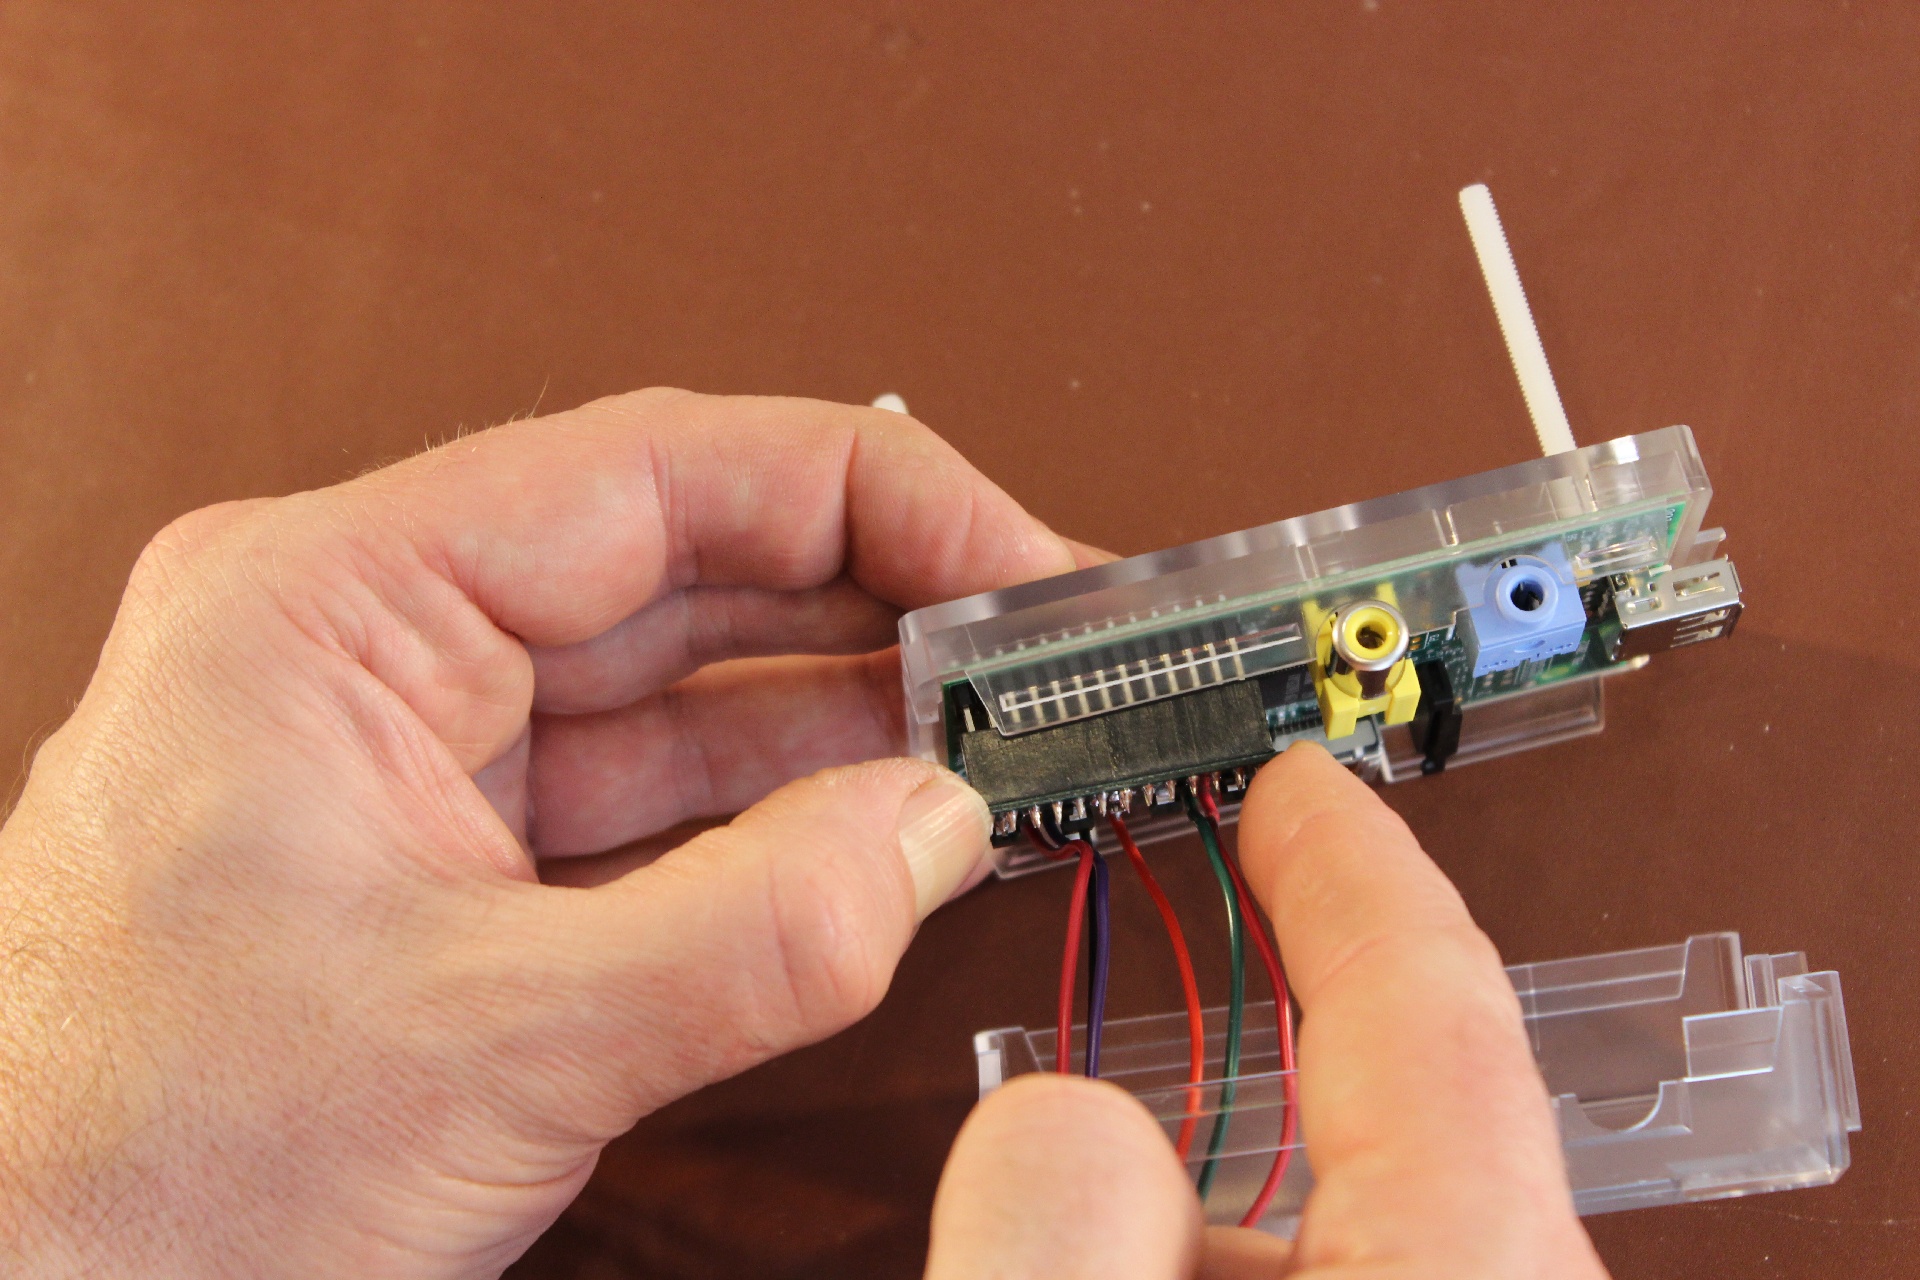
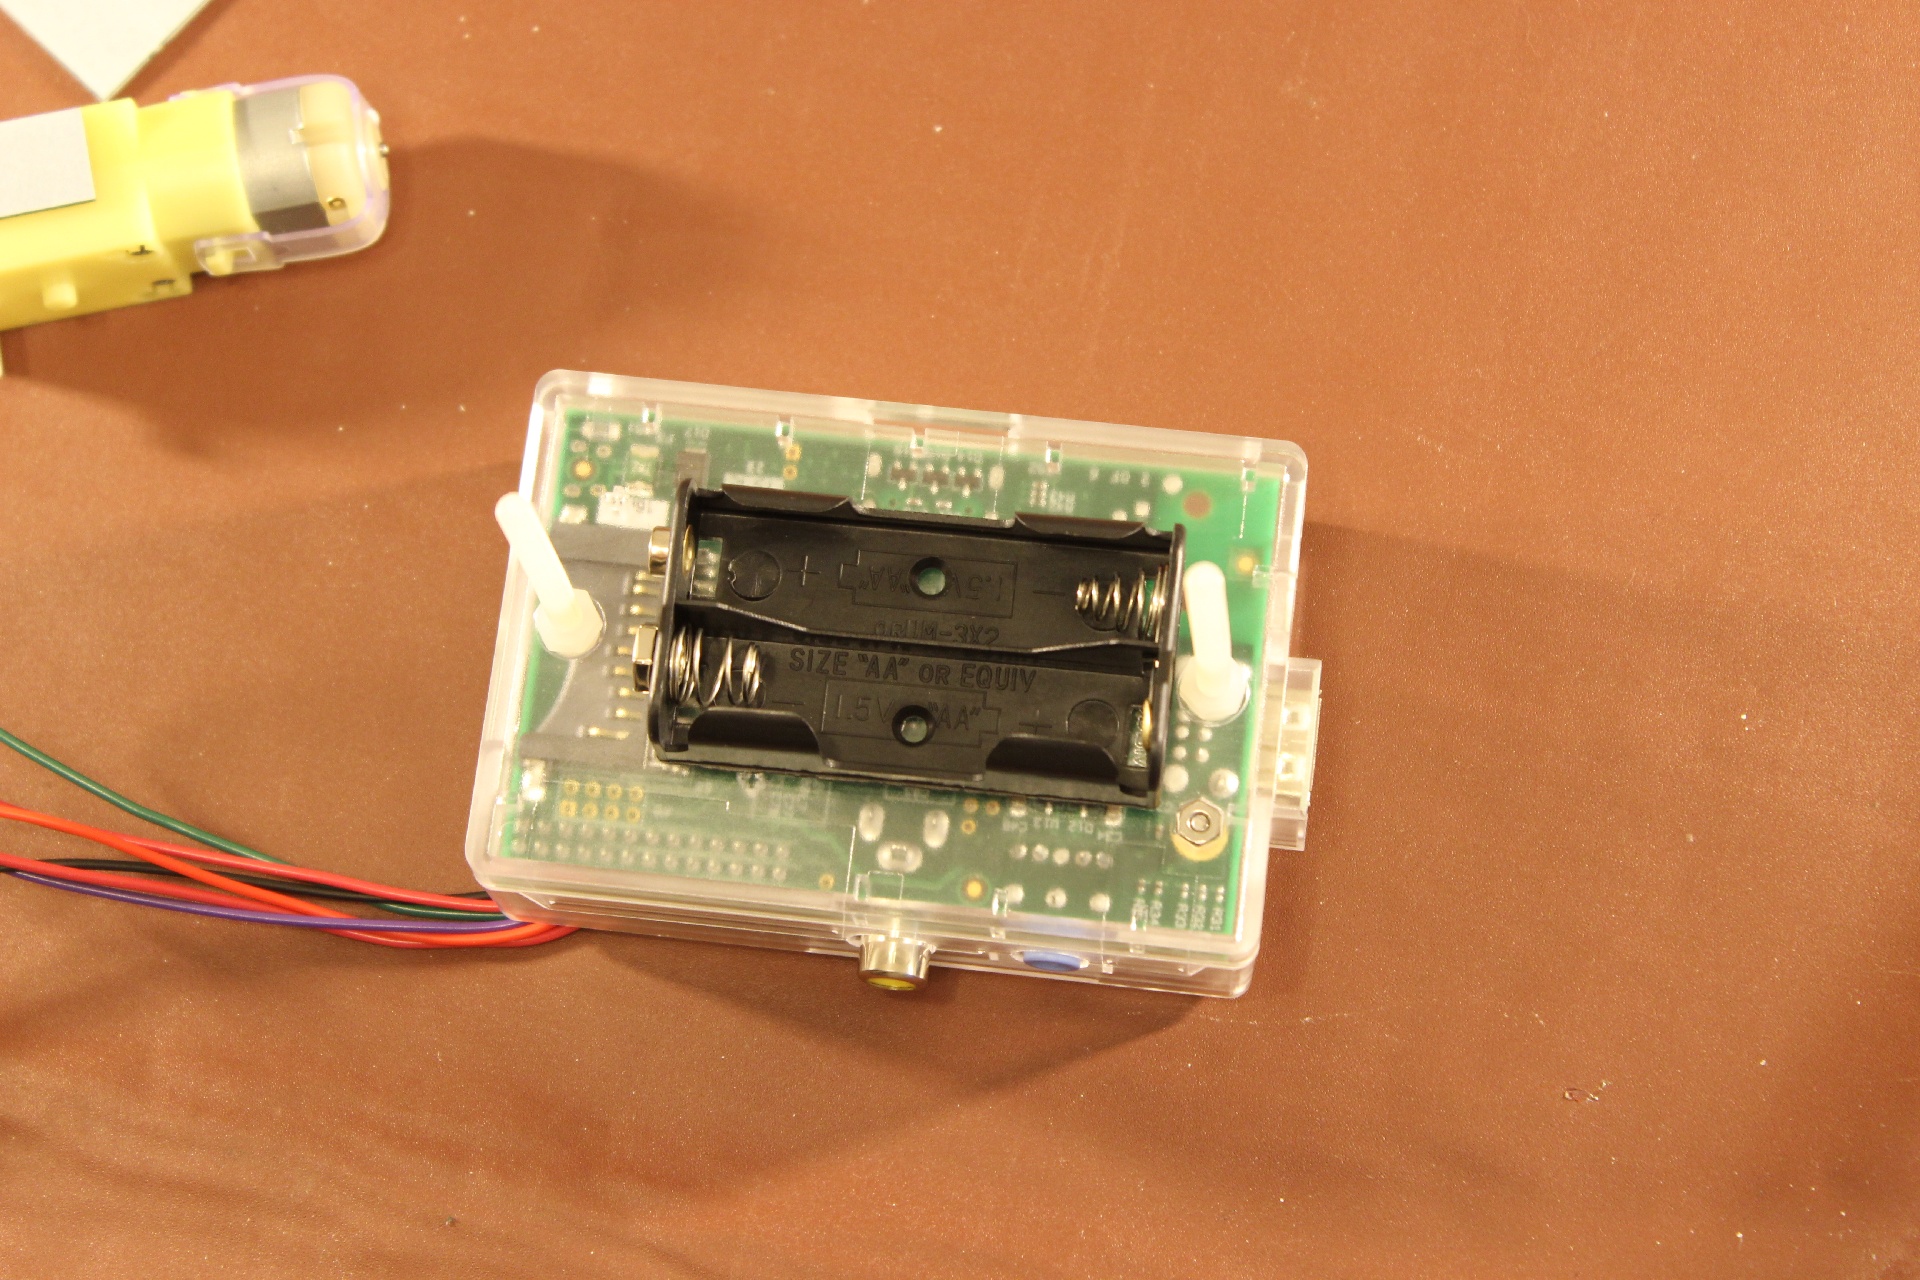
Carefully line up the holes of the PicoBorg socket with the expansion header of the Raspberry Pi and push down on the edges of the PicoBorg to fit. Be careful to push from the edges of the board as the soldered pins can be a bit sharp!
Next Snap on the case lid.

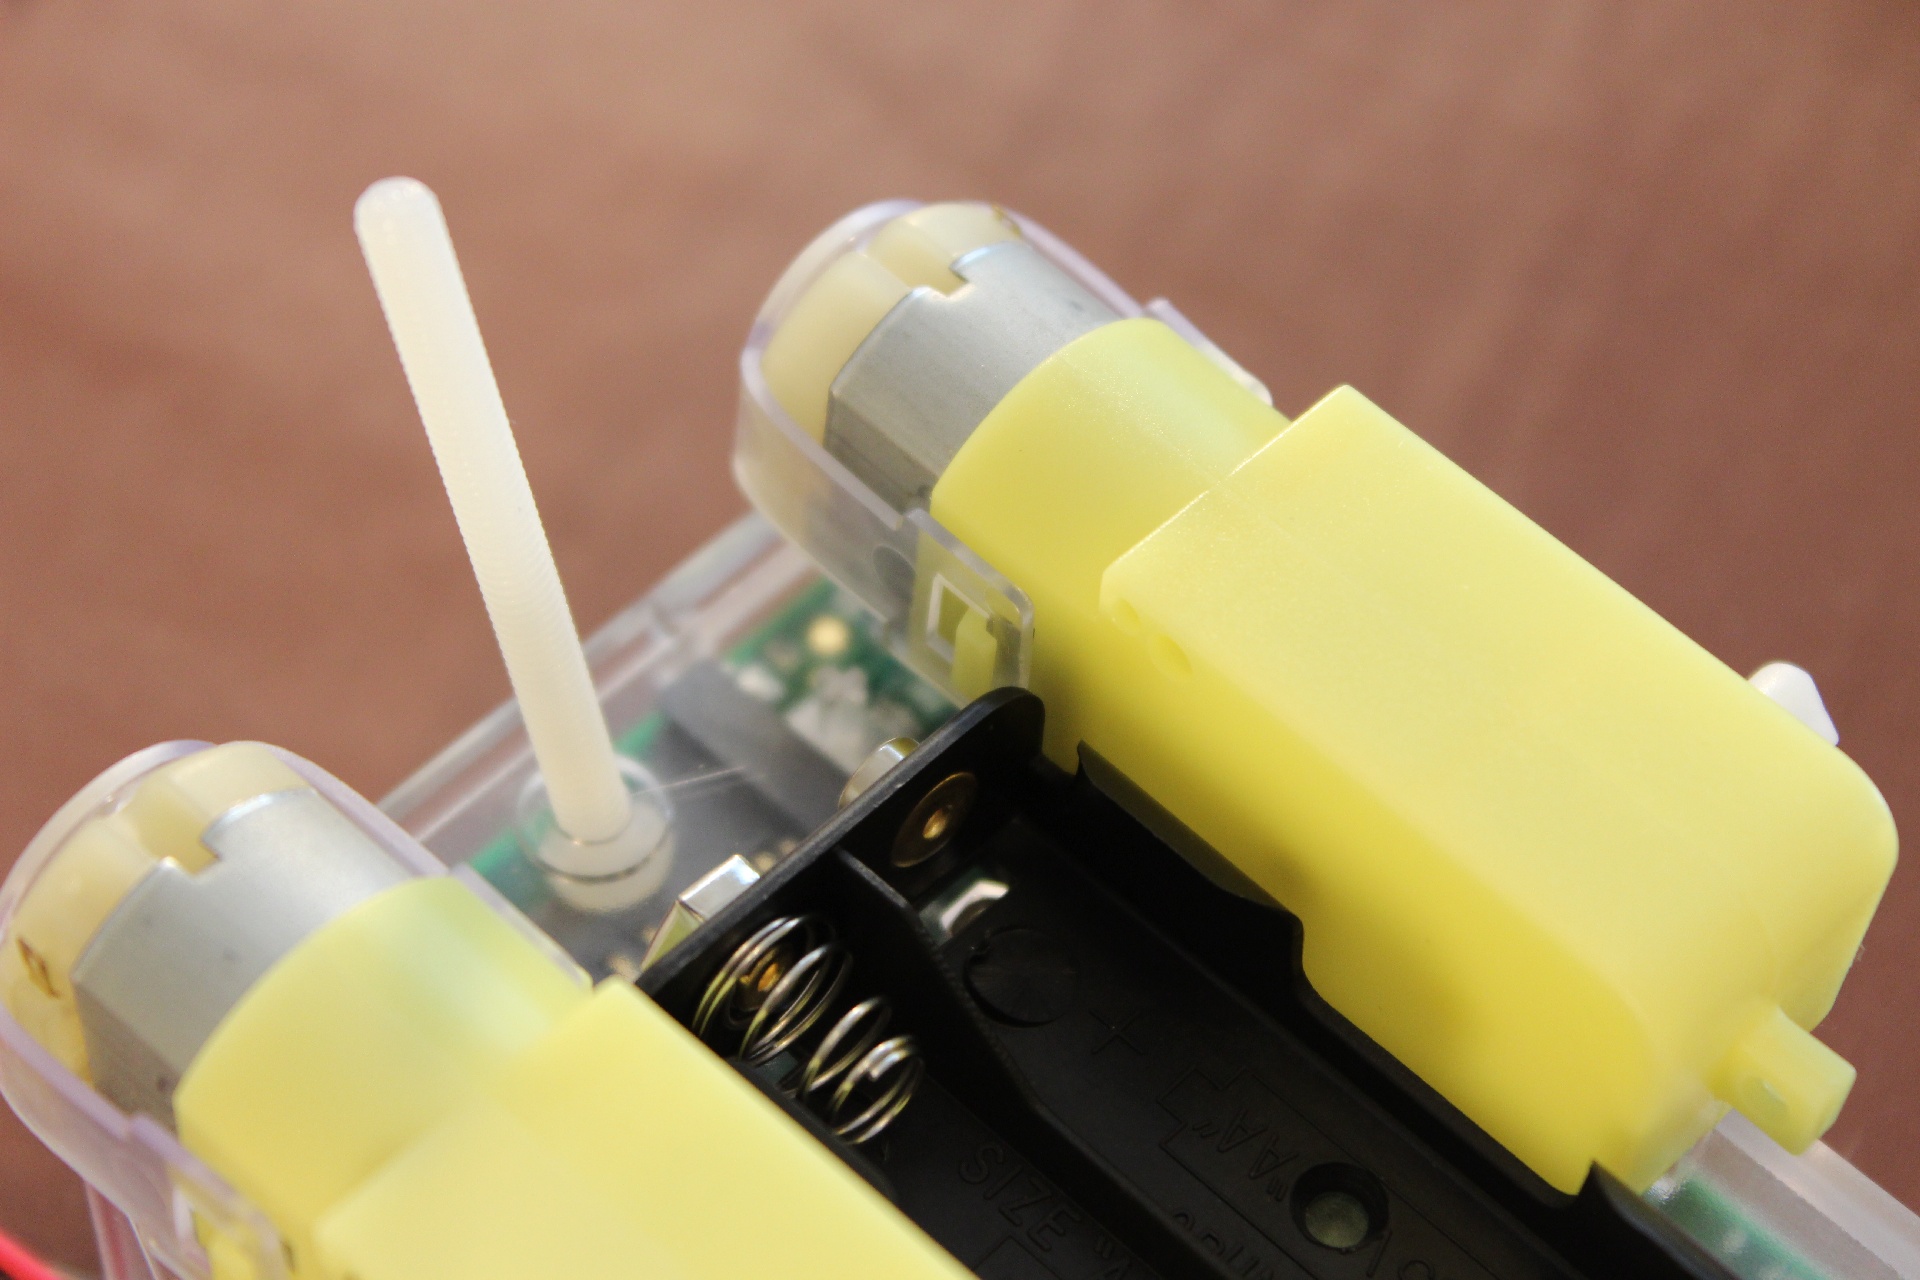
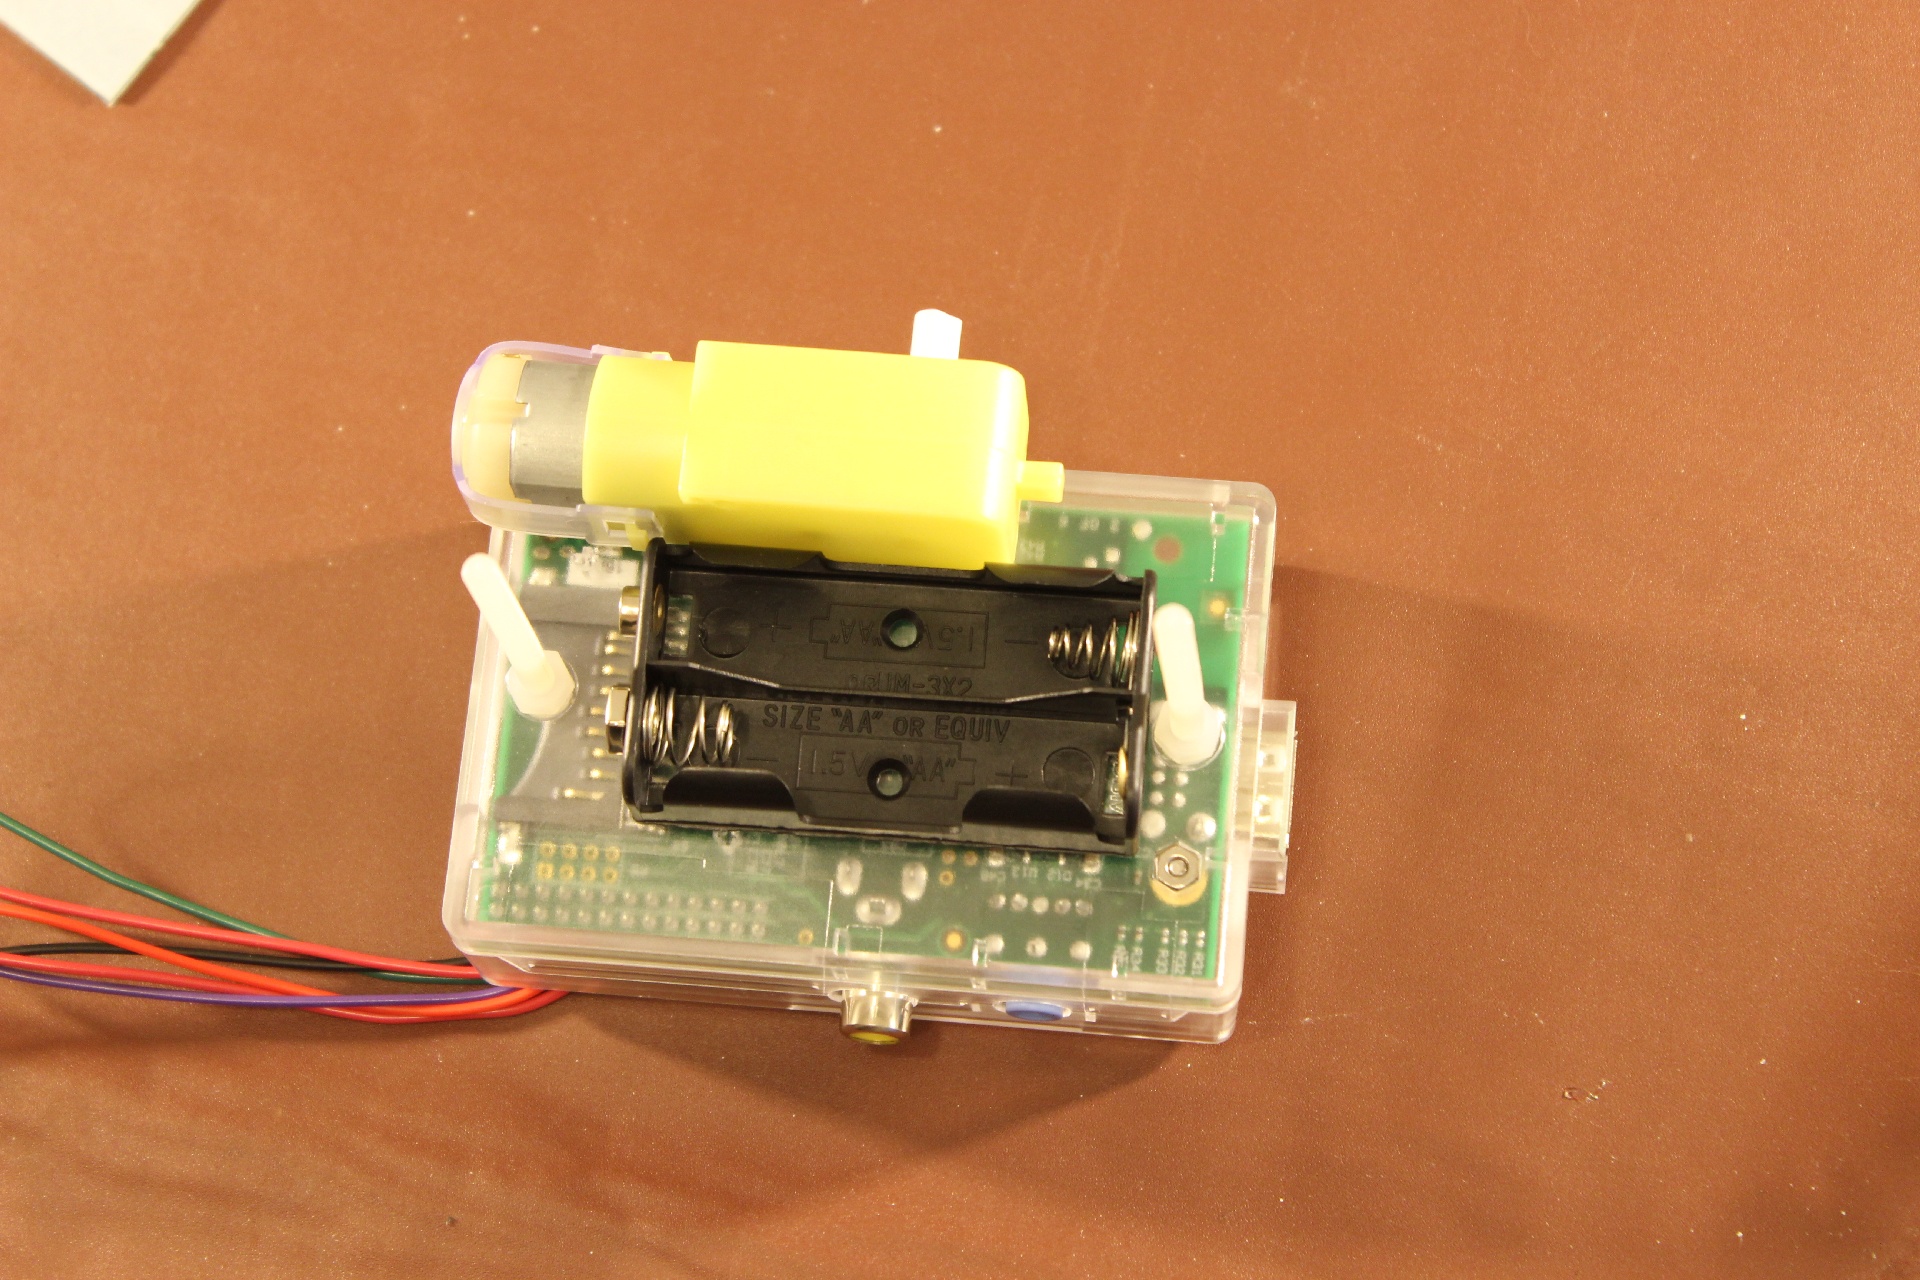
Dry fit (don’t glue or stick yet) the battery pack and motors. Be sure to make all the contacts of the motors and the battery pack face the direction the cables come from (same side as the Raspberry Pi is powered from).
The white shafts of the motor should be at the centre of the case.
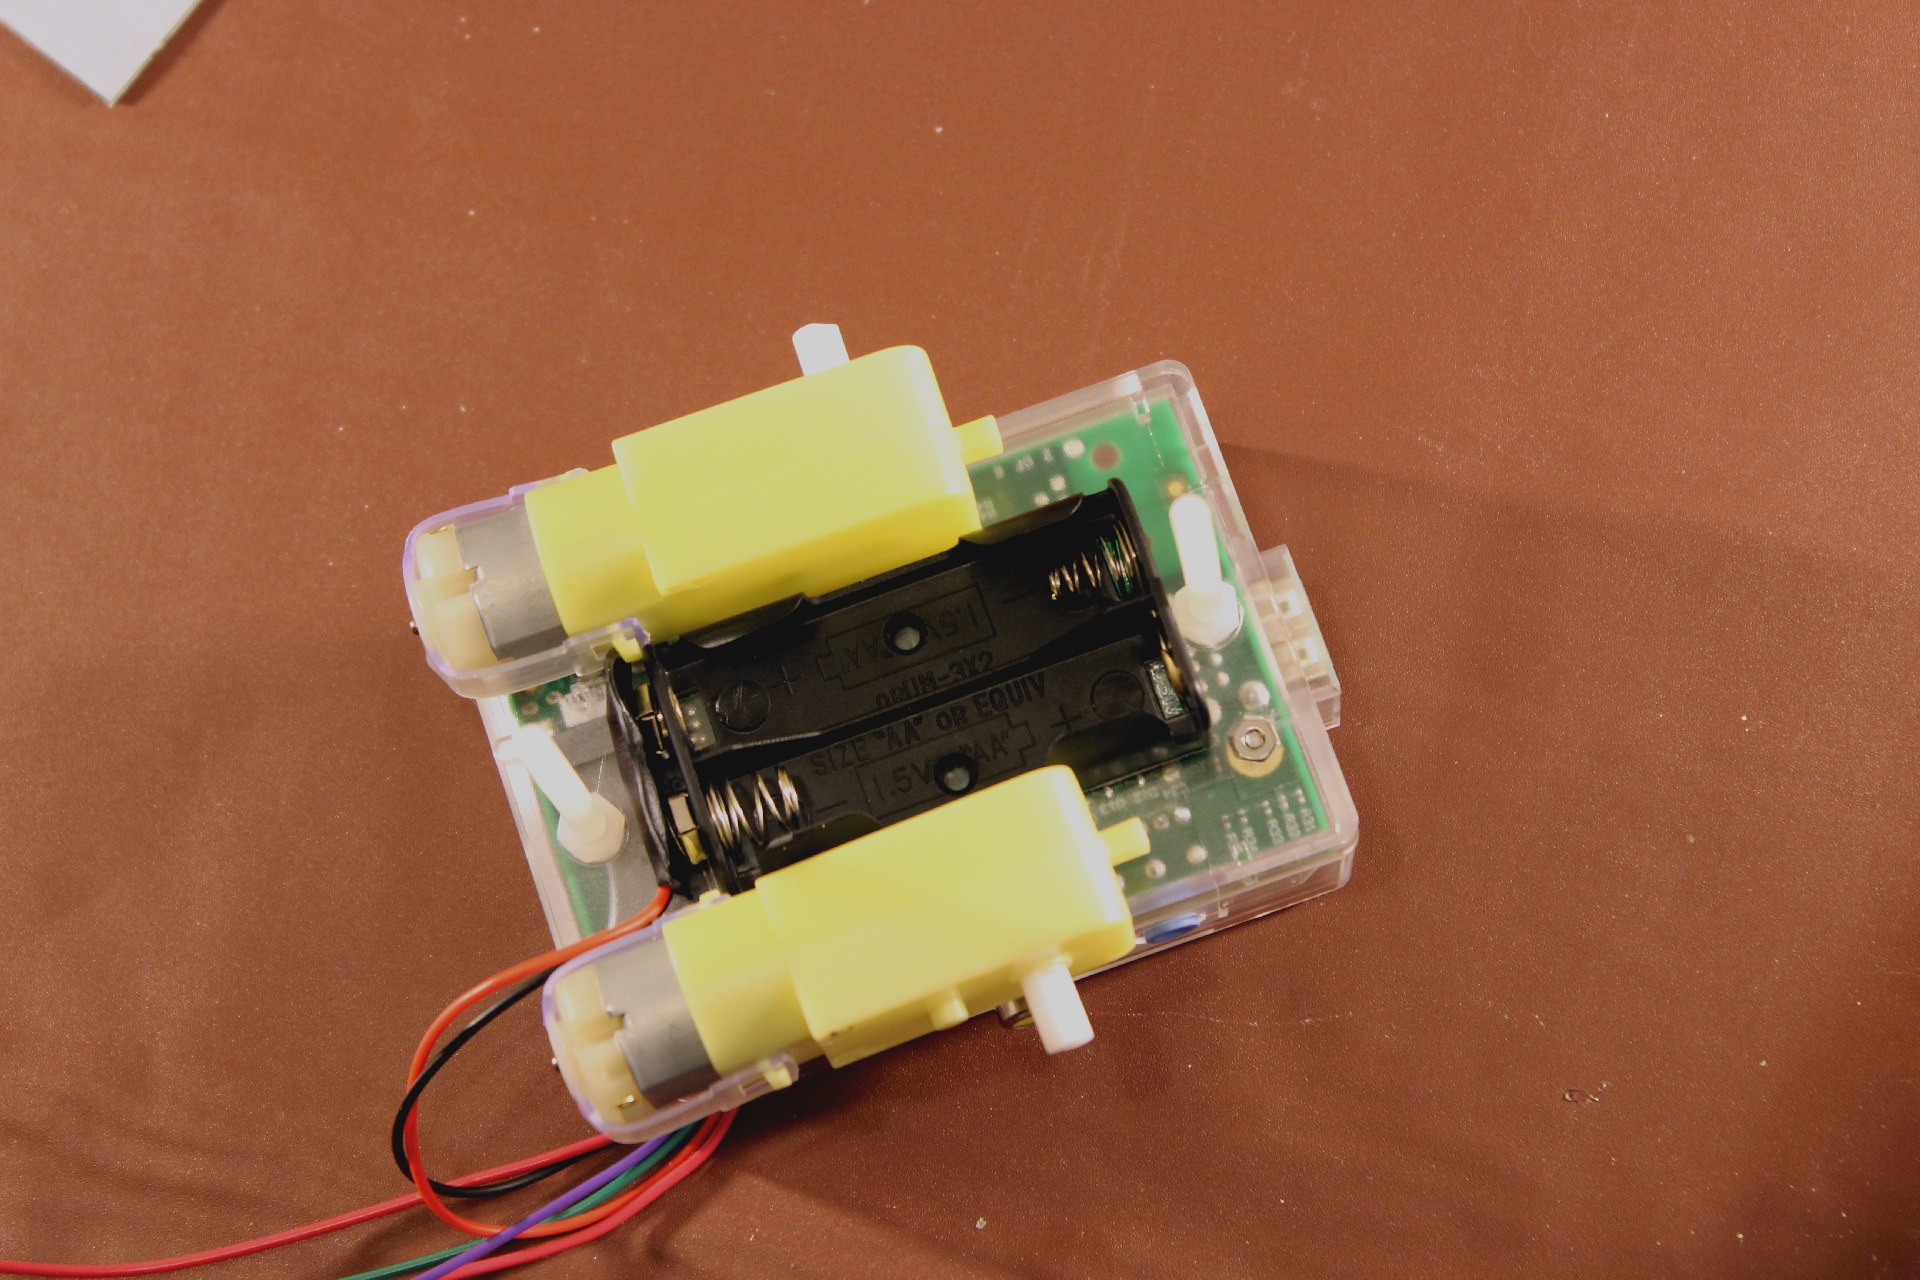
The yellow tabs of the motors are just forward of the battery holder as per diagram. Make sure to leave room for the battery connector!
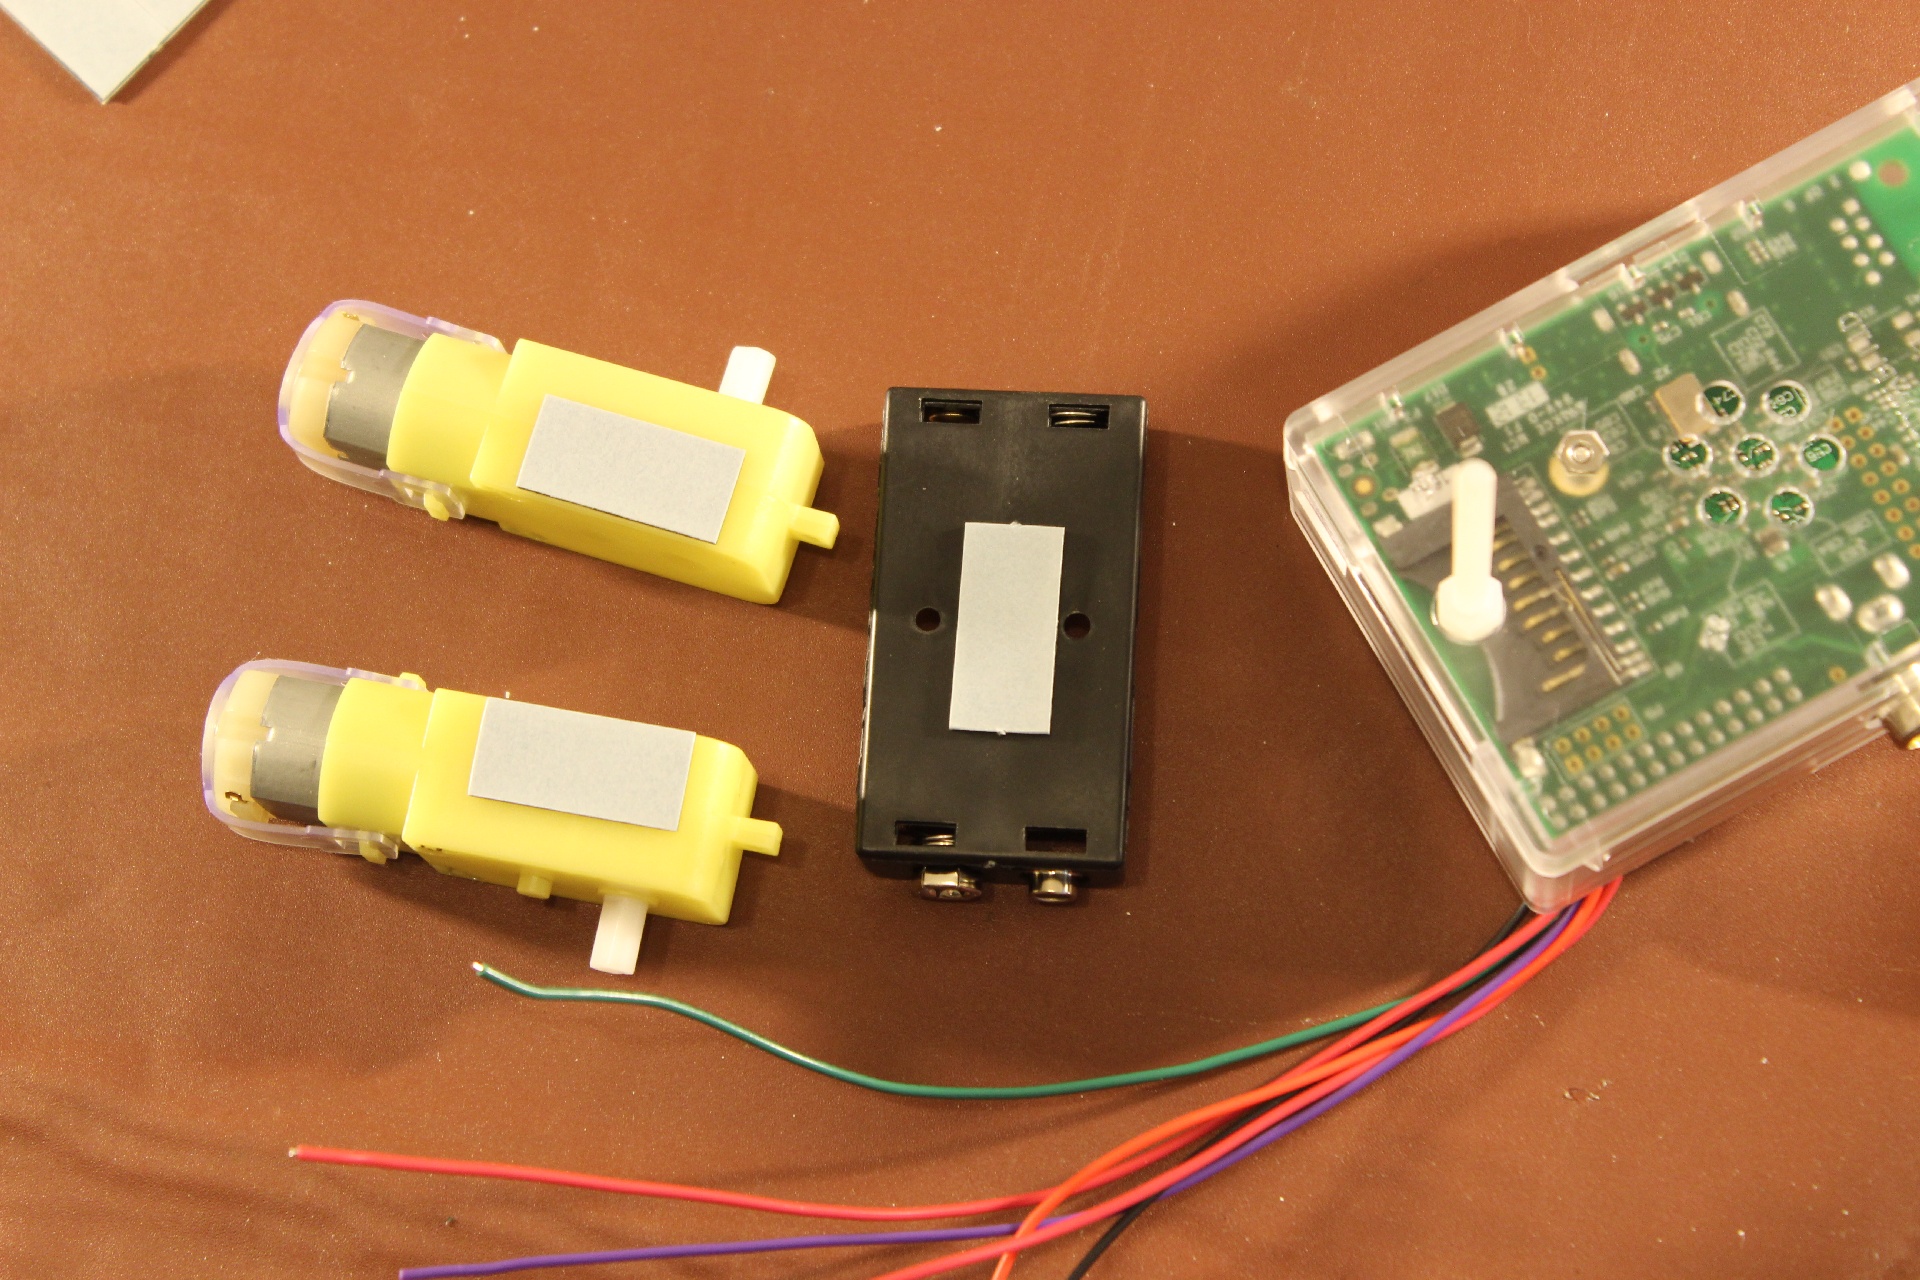
Once you are happy with the location of the battery pack and motors, use double sided tape or glue to secure them to the case.
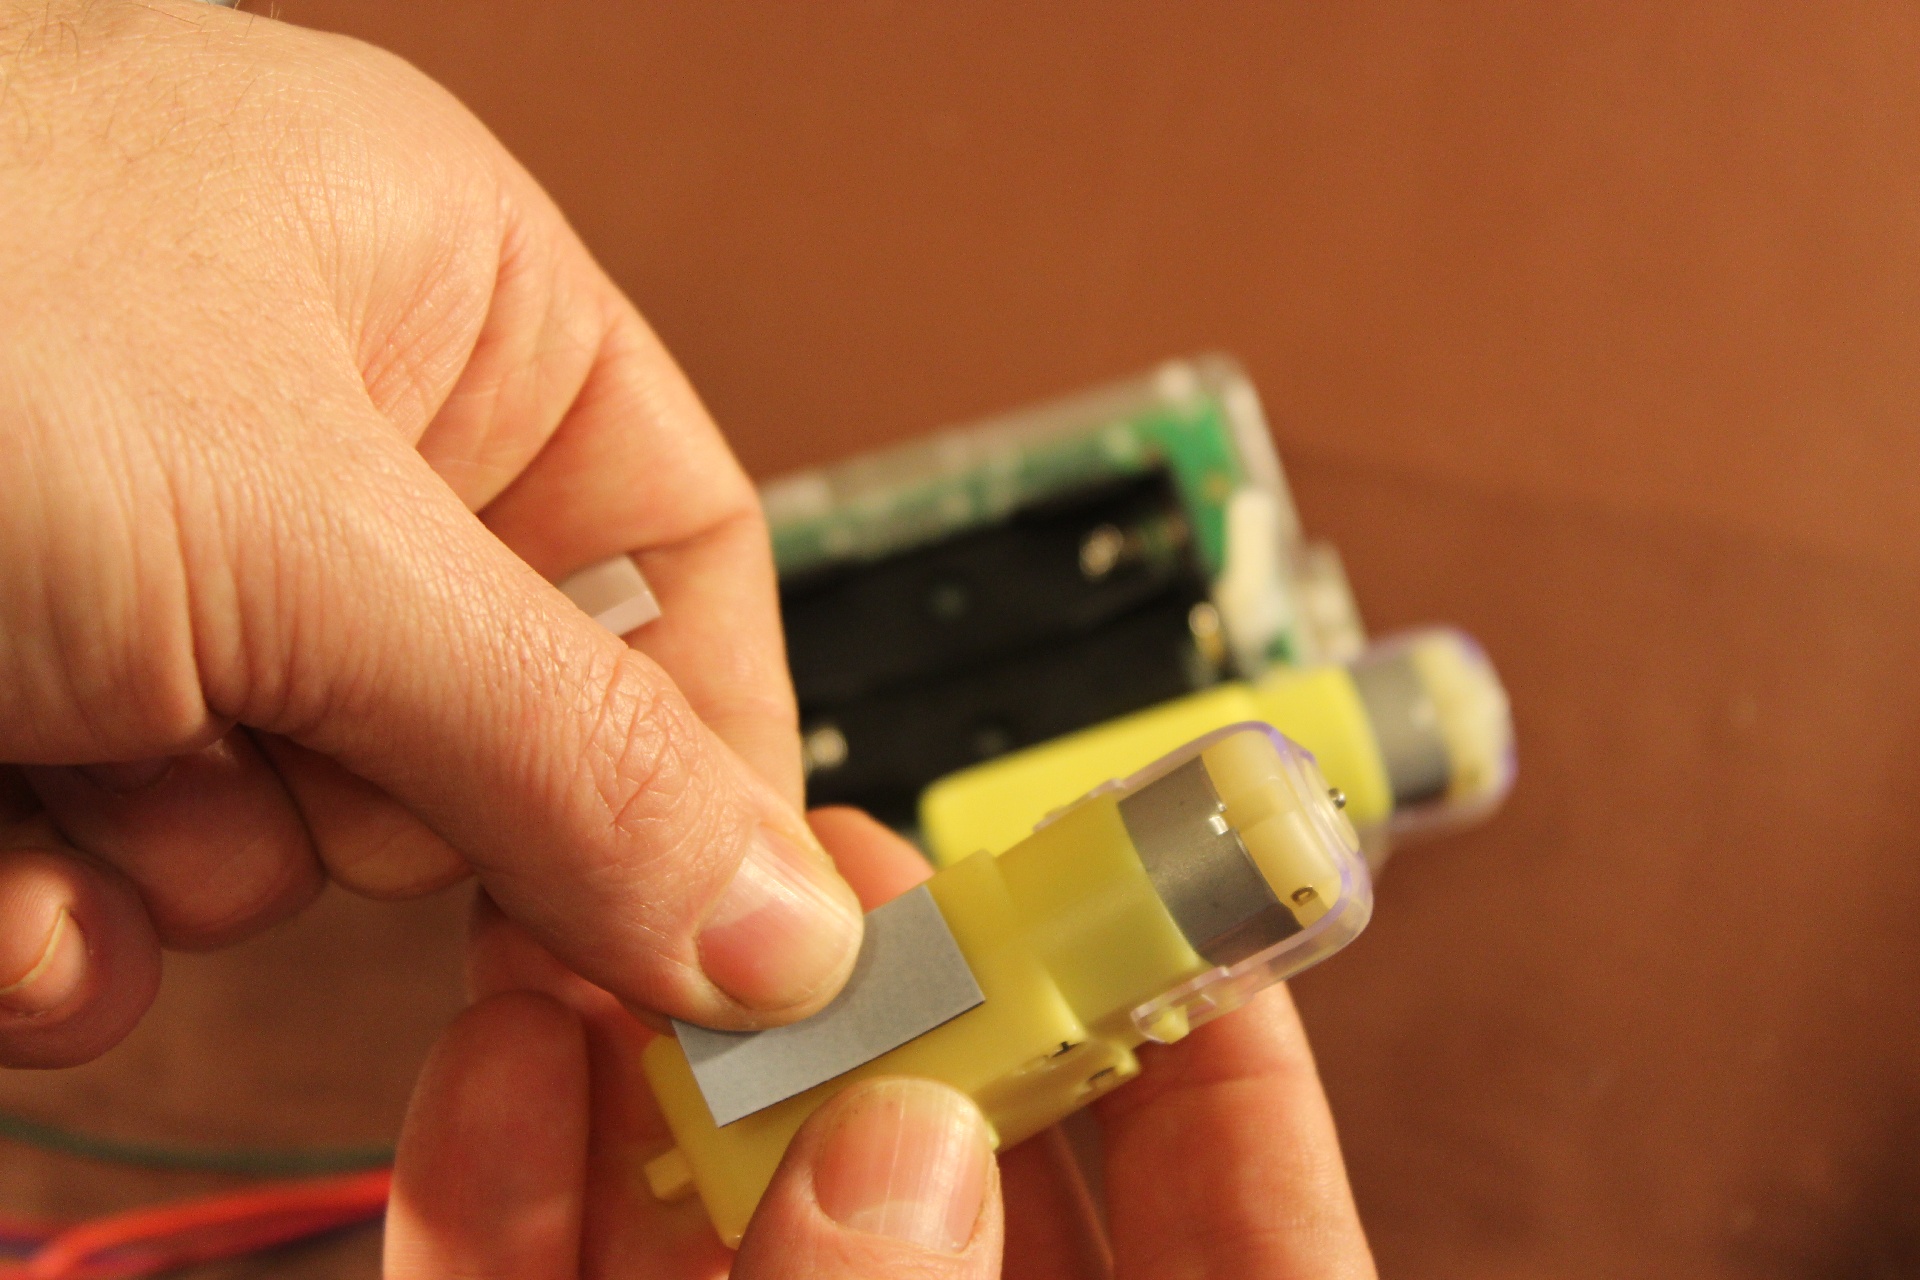
Start with the battery pack, then add the motors. Don’t forget the orientation of the connectors to make sure the wires reach.
Leave glue to dry.
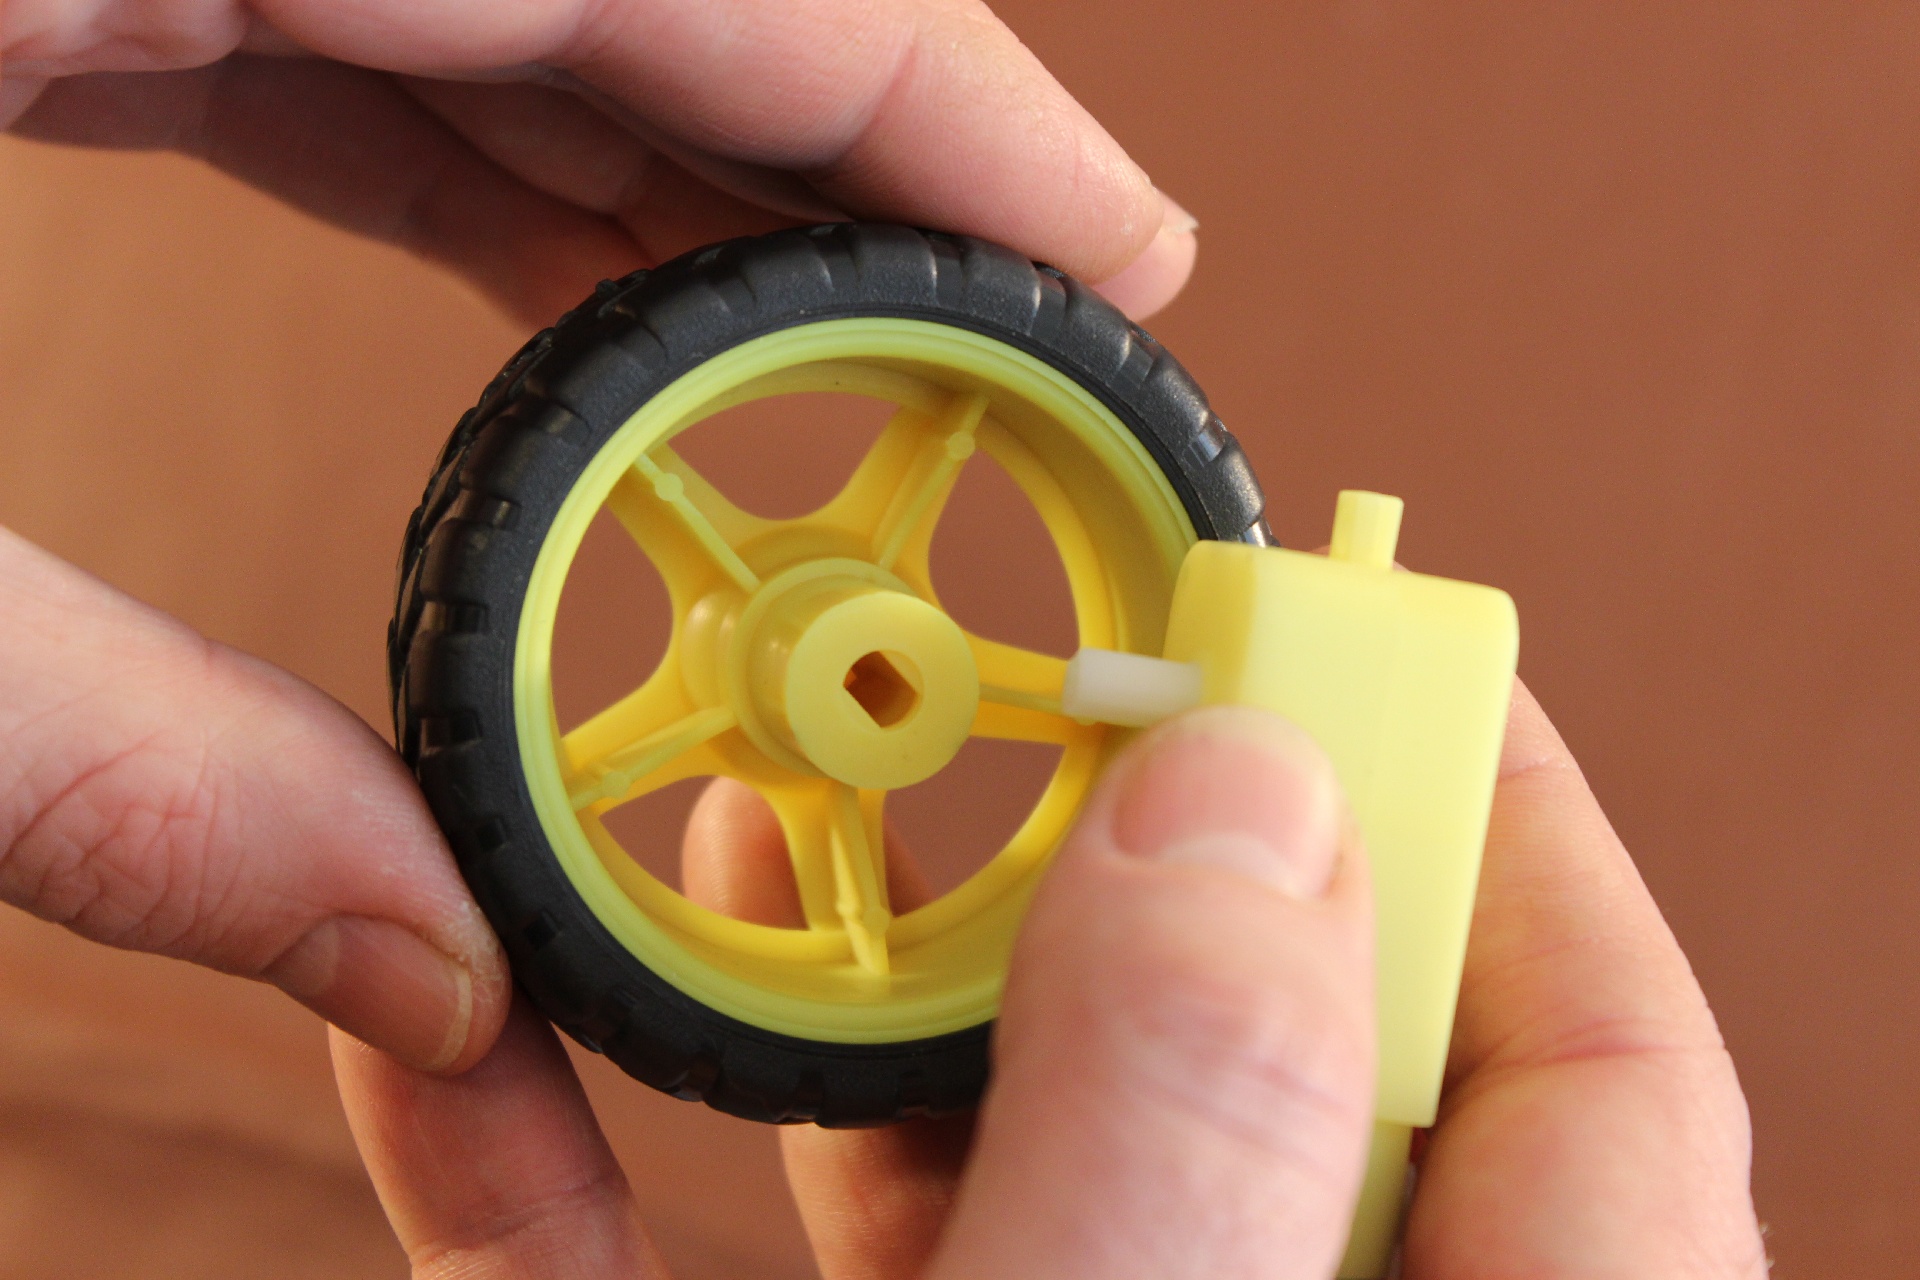
Once glue is dry, attach the wheels to the motors. These are keyed and slide on with a little force.
Route the cables to the motors. Red should be closest to the case on both motors. Make sure you leave room for the Raspberry Pi’s SD card and USB power cable.
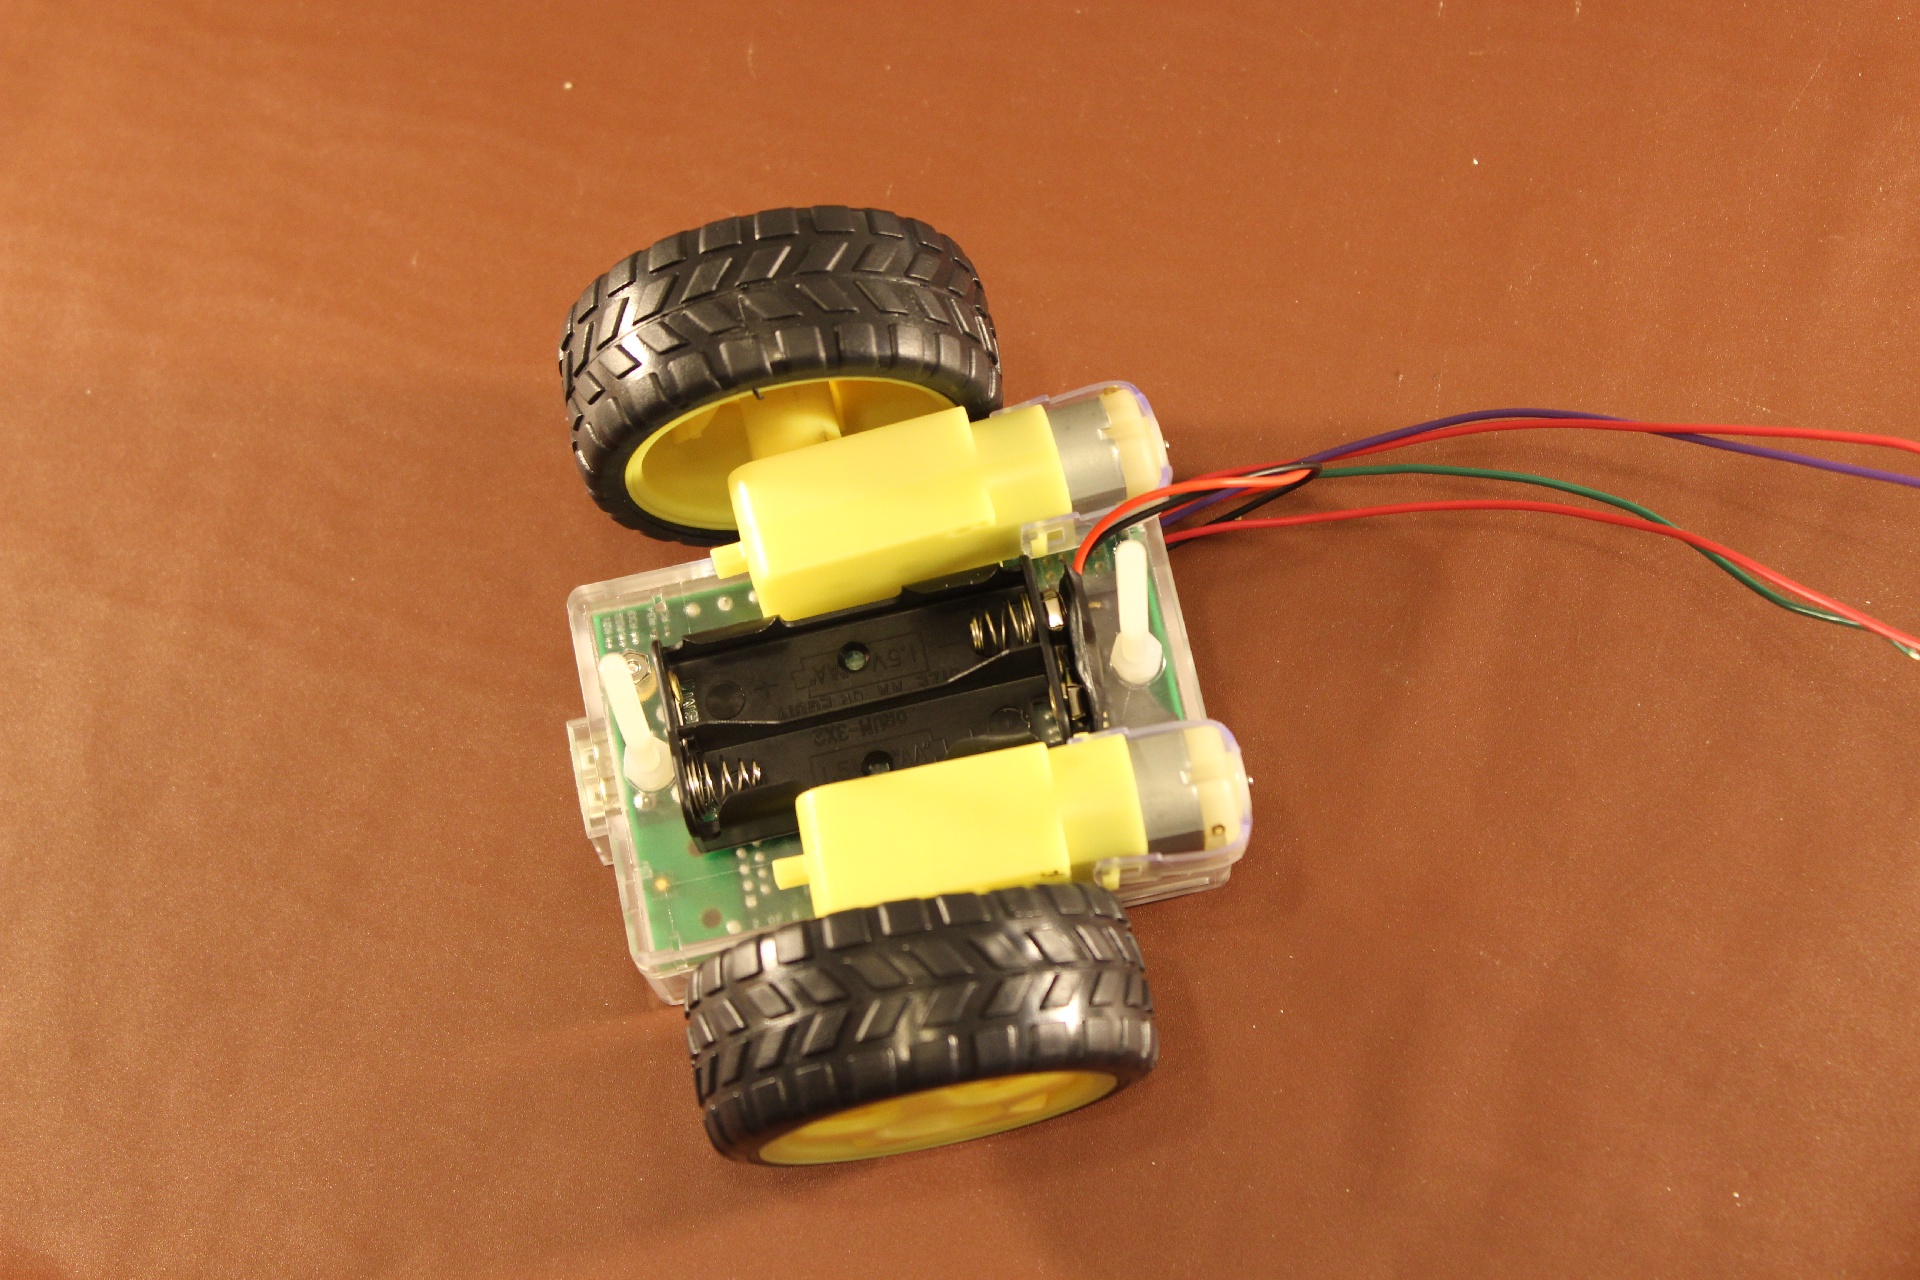
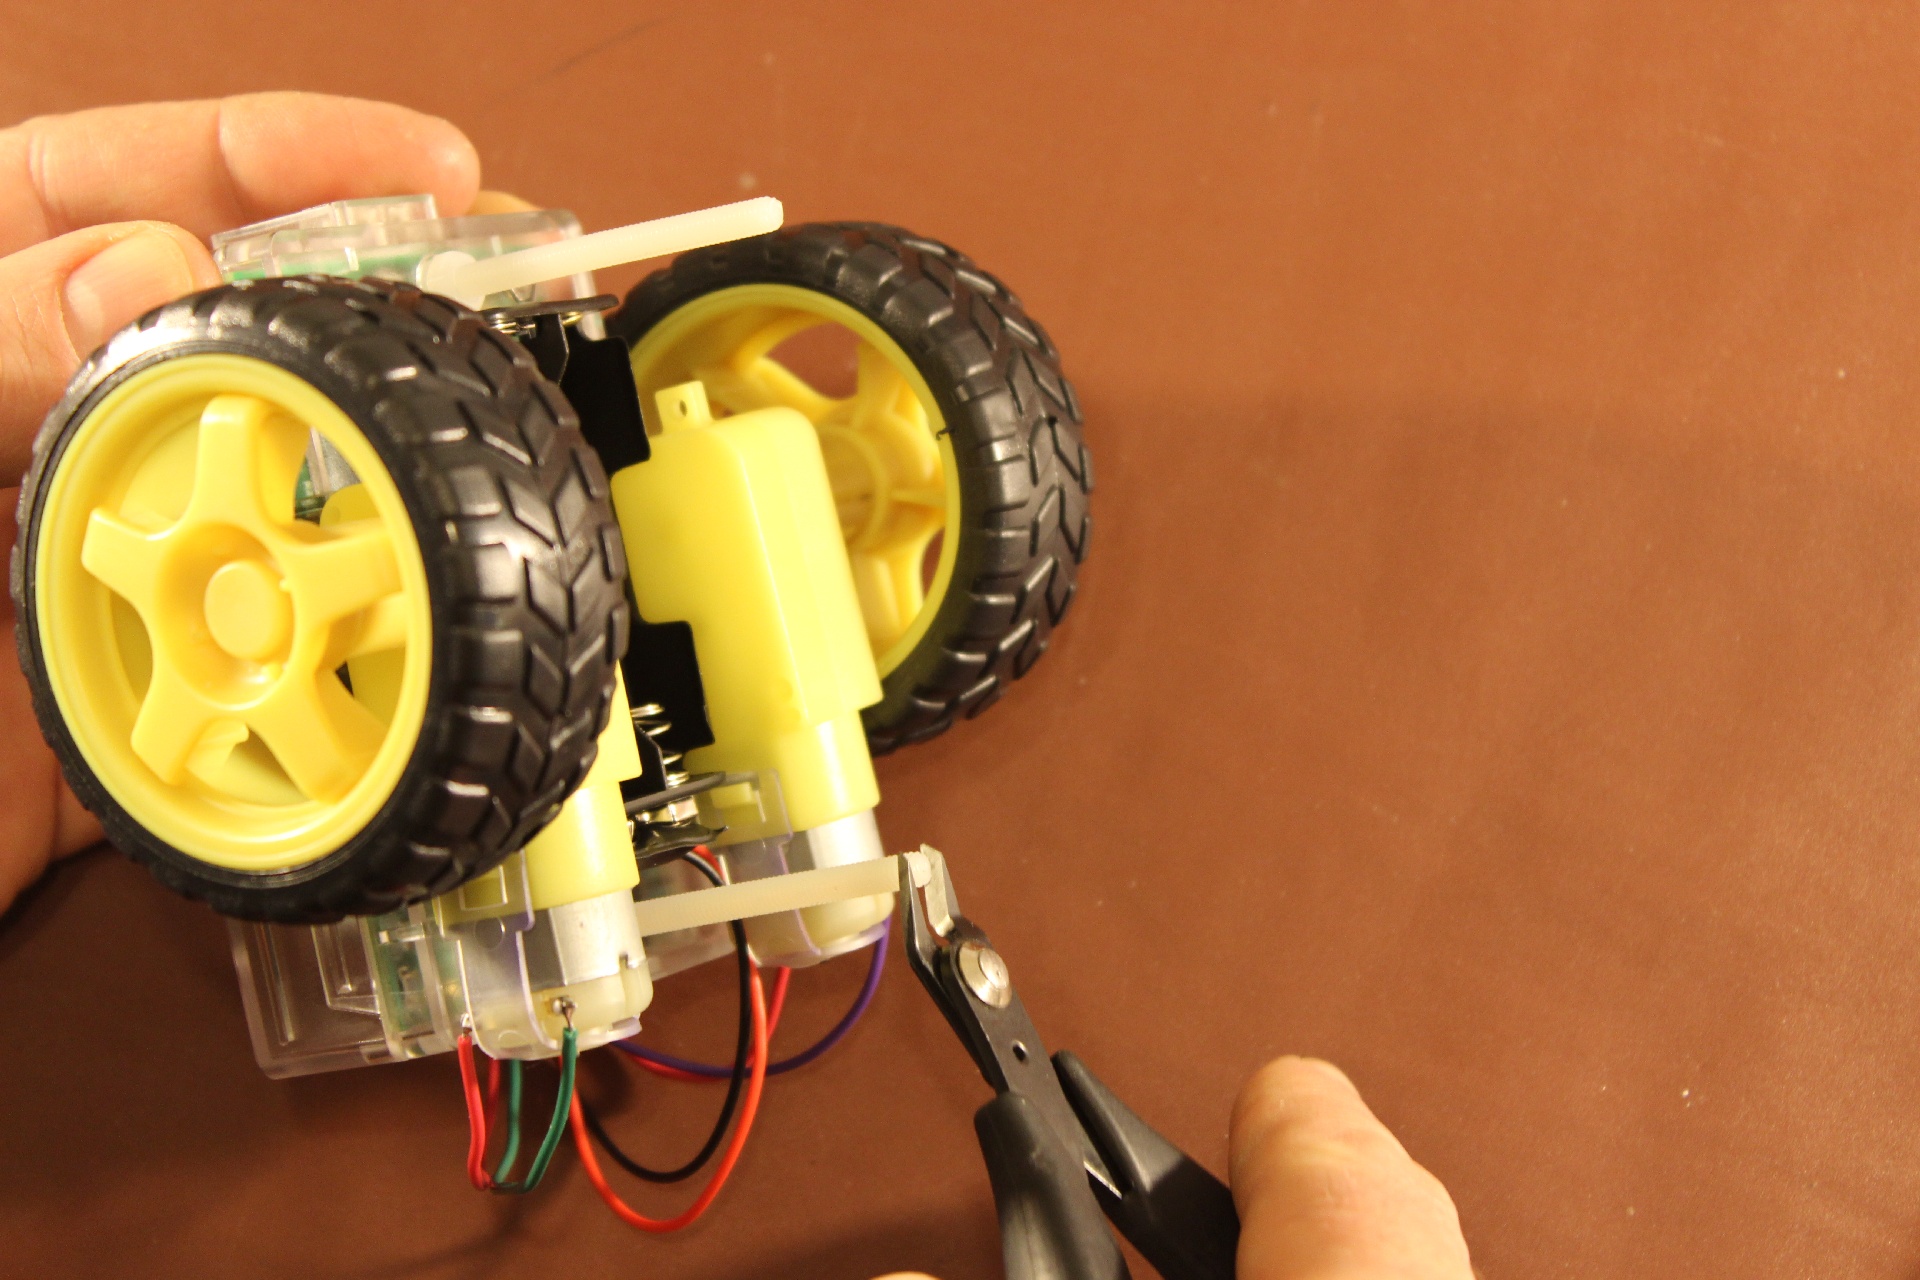
Trim the cables if desired.
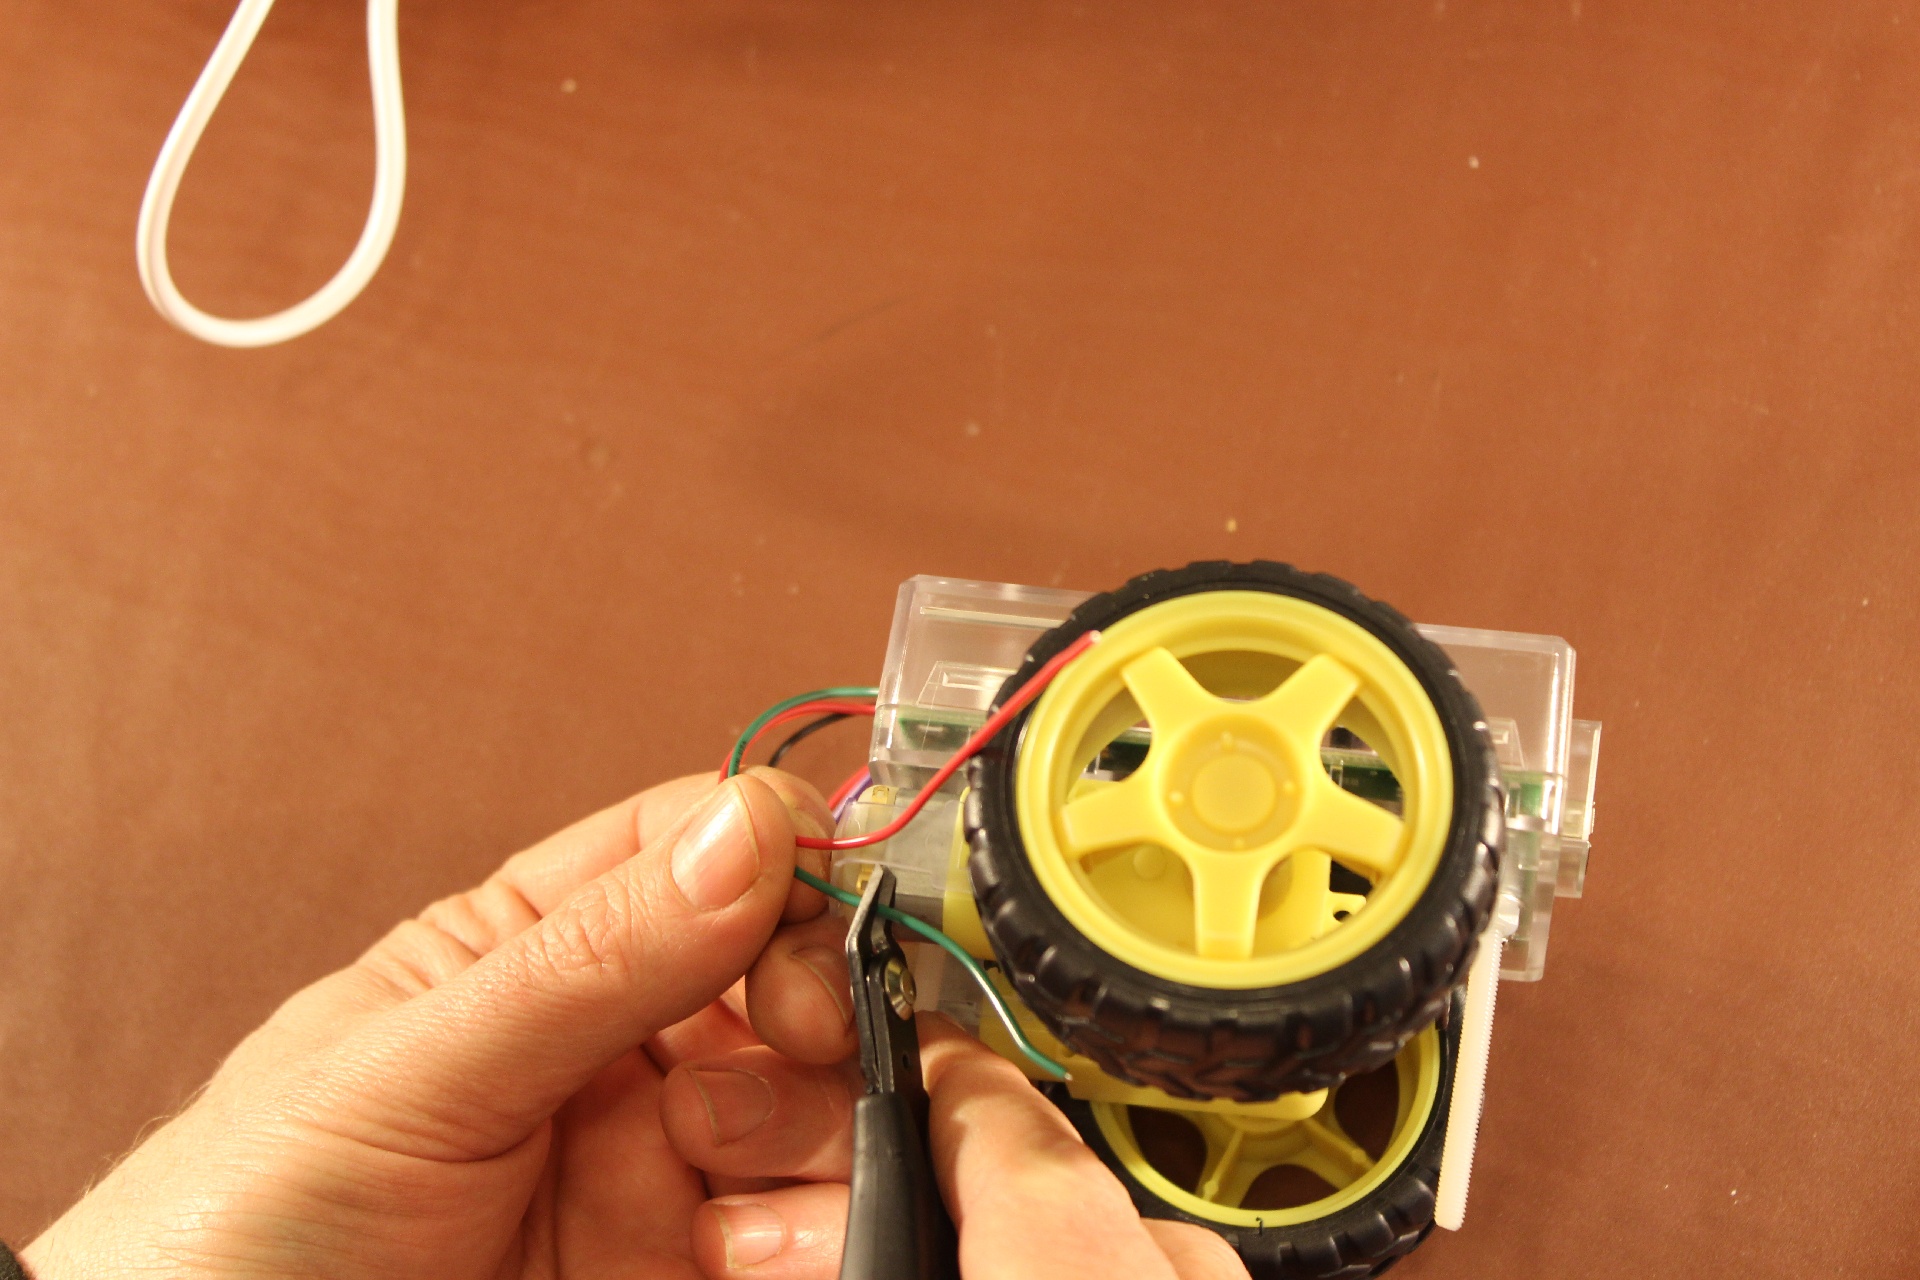
Strip a small amount of cable from the wires to solder to and carefully solder the wires to the motors. Remember red is towards top of case.

The plastic on the motors is easily heat damaged, so be really careful not to touch this with the soldering iron.
It’s a good idea to get someone to help you to hold cables etc. so you can hold the iron and solder.

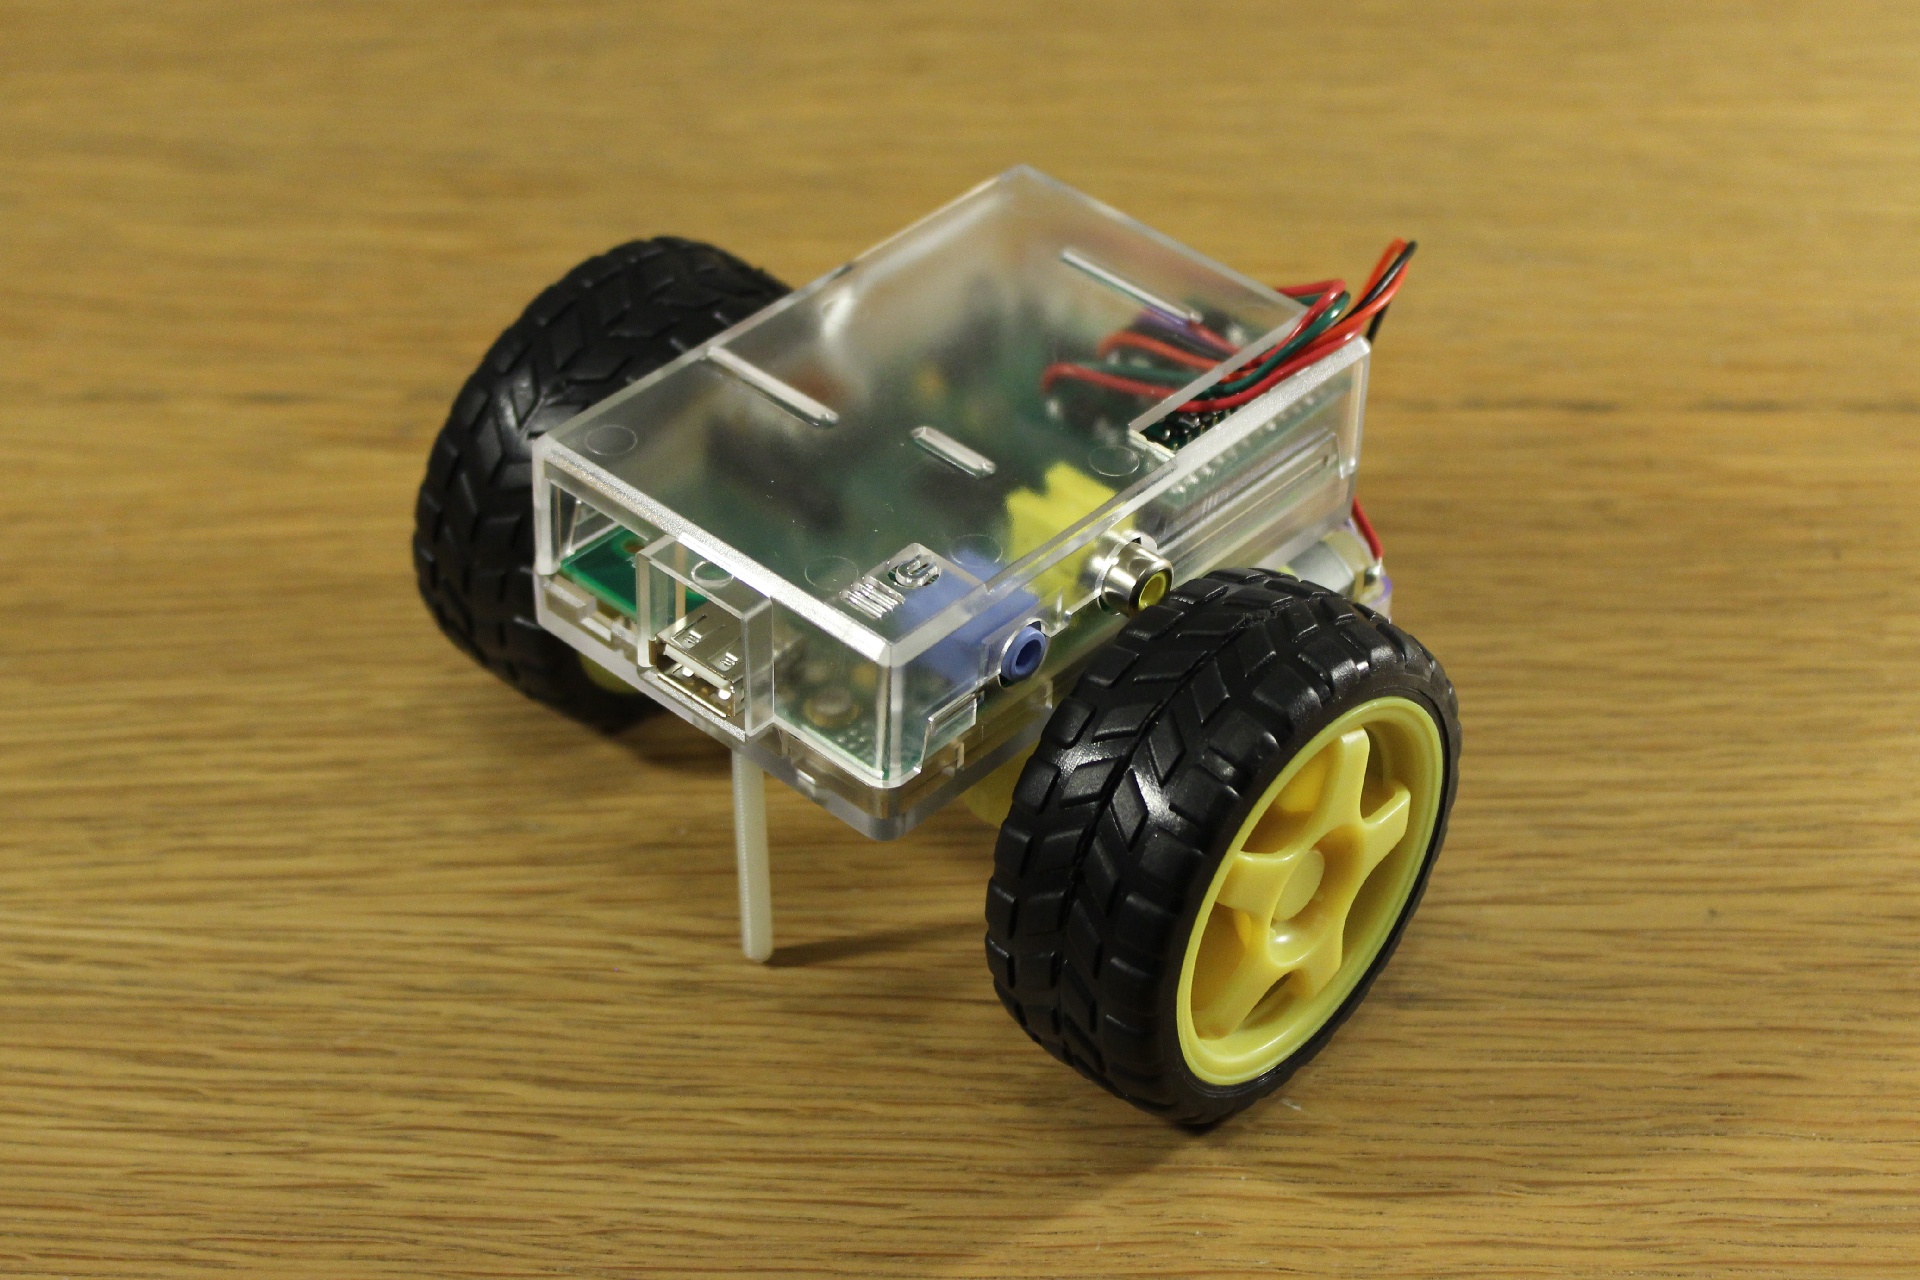
Now it’s time to tune the length of the casters (the long bolts work as a simple caster). If these are too long, the wheels won’t touch the ground. If they are too short, the case bobs up and down when it moves.
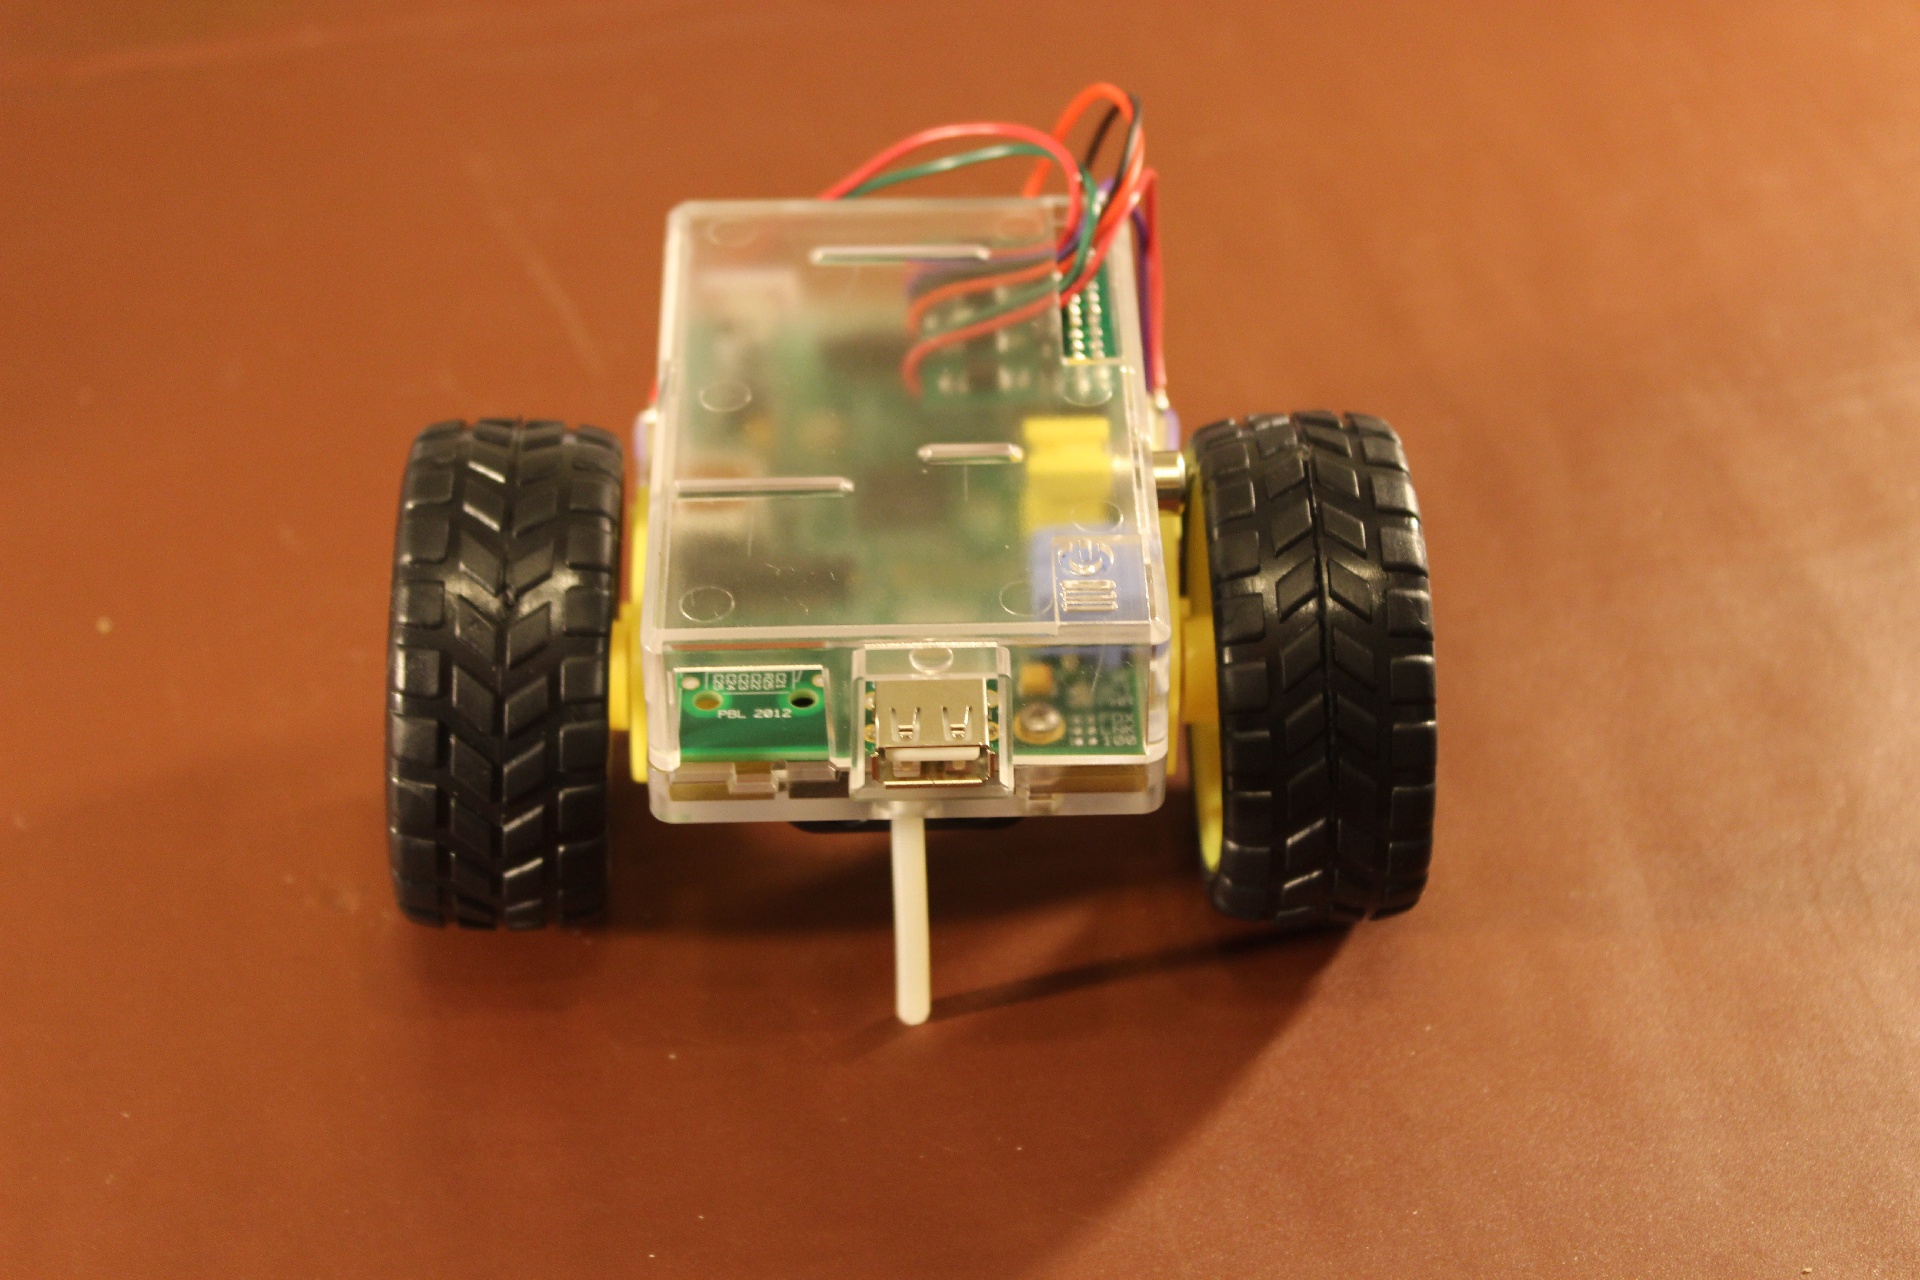
Ideally when trimmed correctly, you should just be able to put a coin underneath without lifting a wheel off the ground.
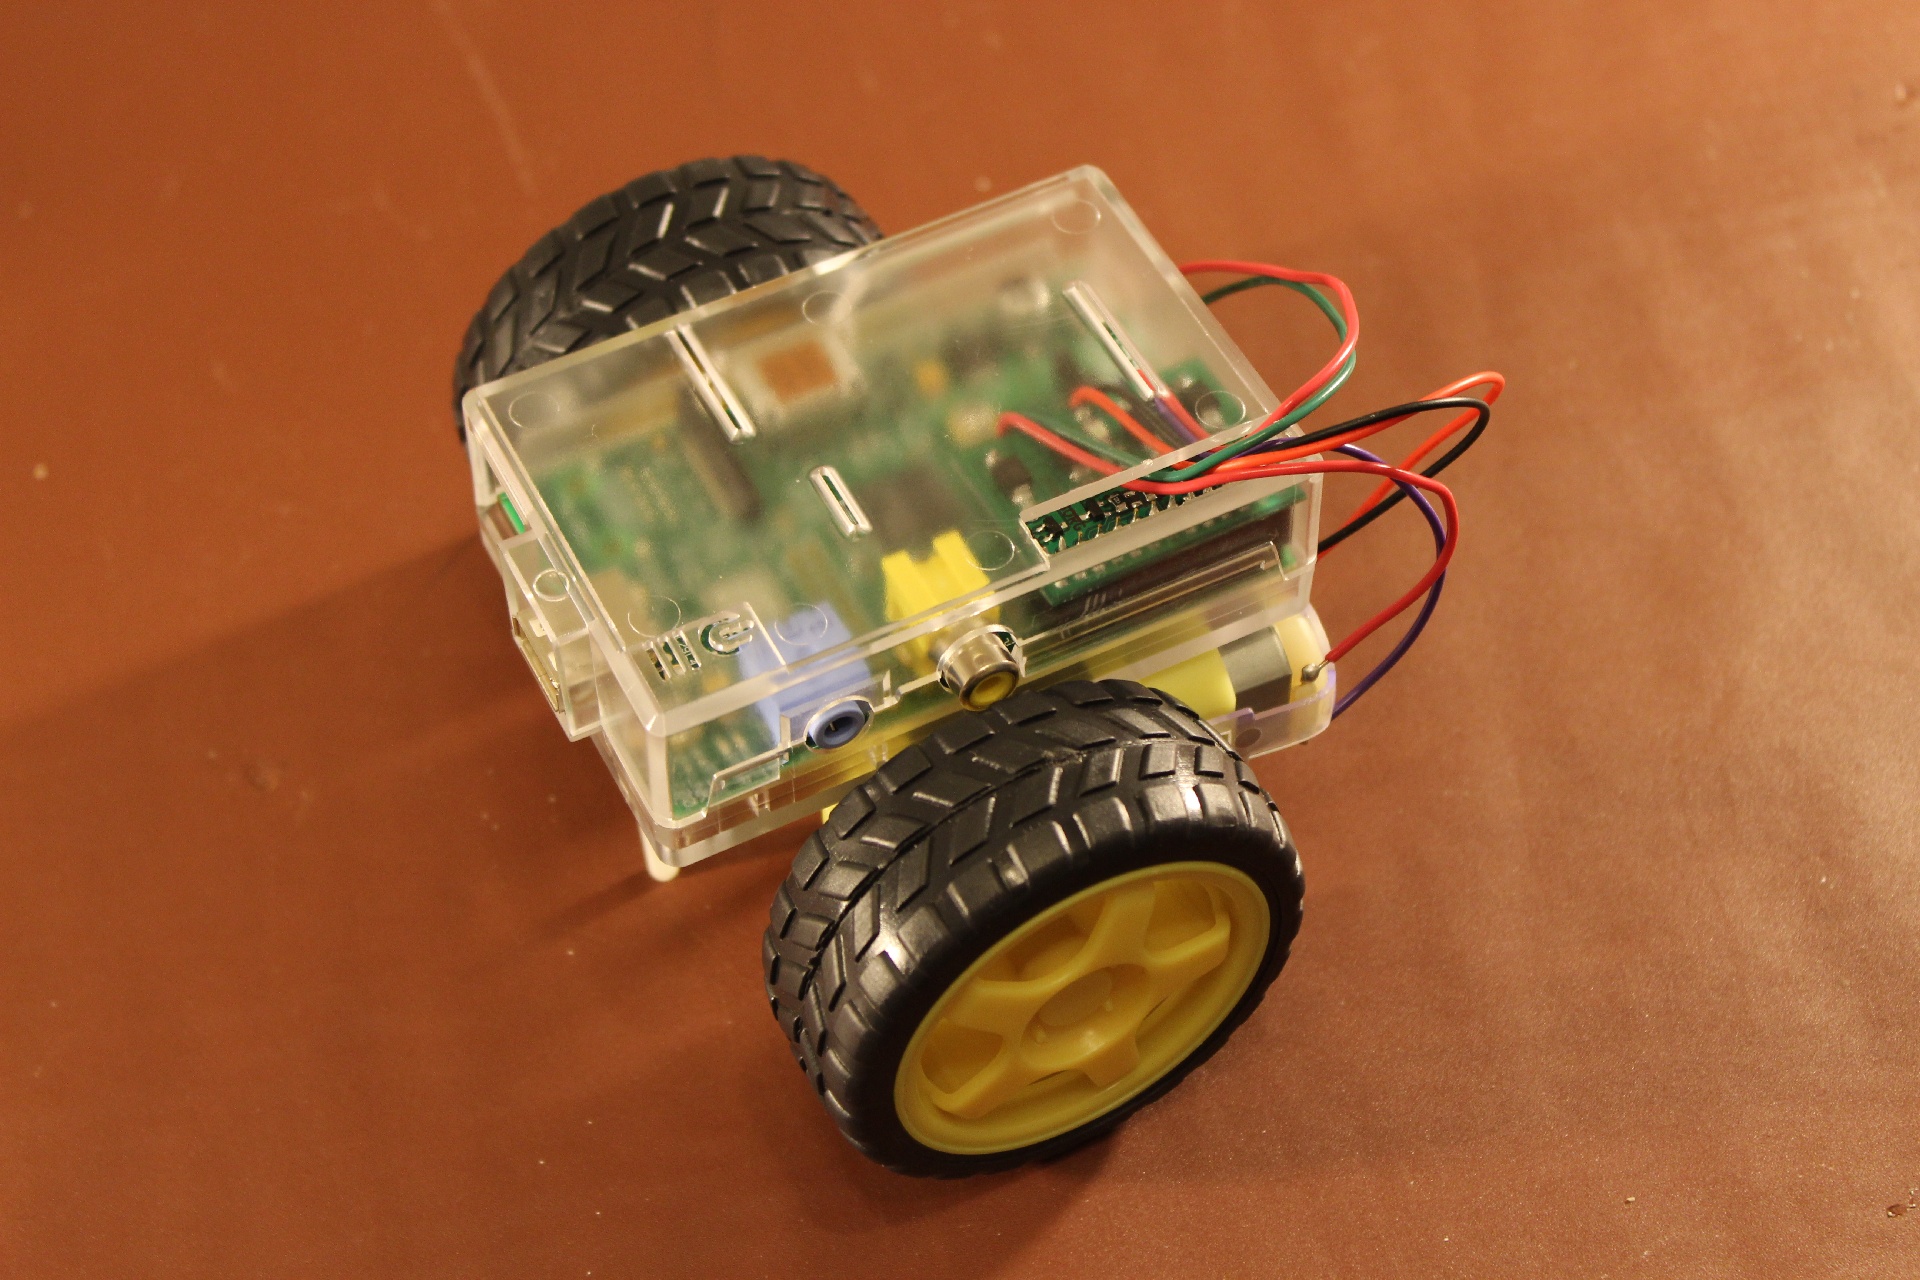
That's it! Now add some AA batteries, pick some software to run on it and find a flat surface such as a desk or floor. If carpet is your only choice of surface, you’ll want to upgrade your caster to a wheel or slide.
Upgrades
If you want your PiCy to move around without any wires, why not get a battery pack here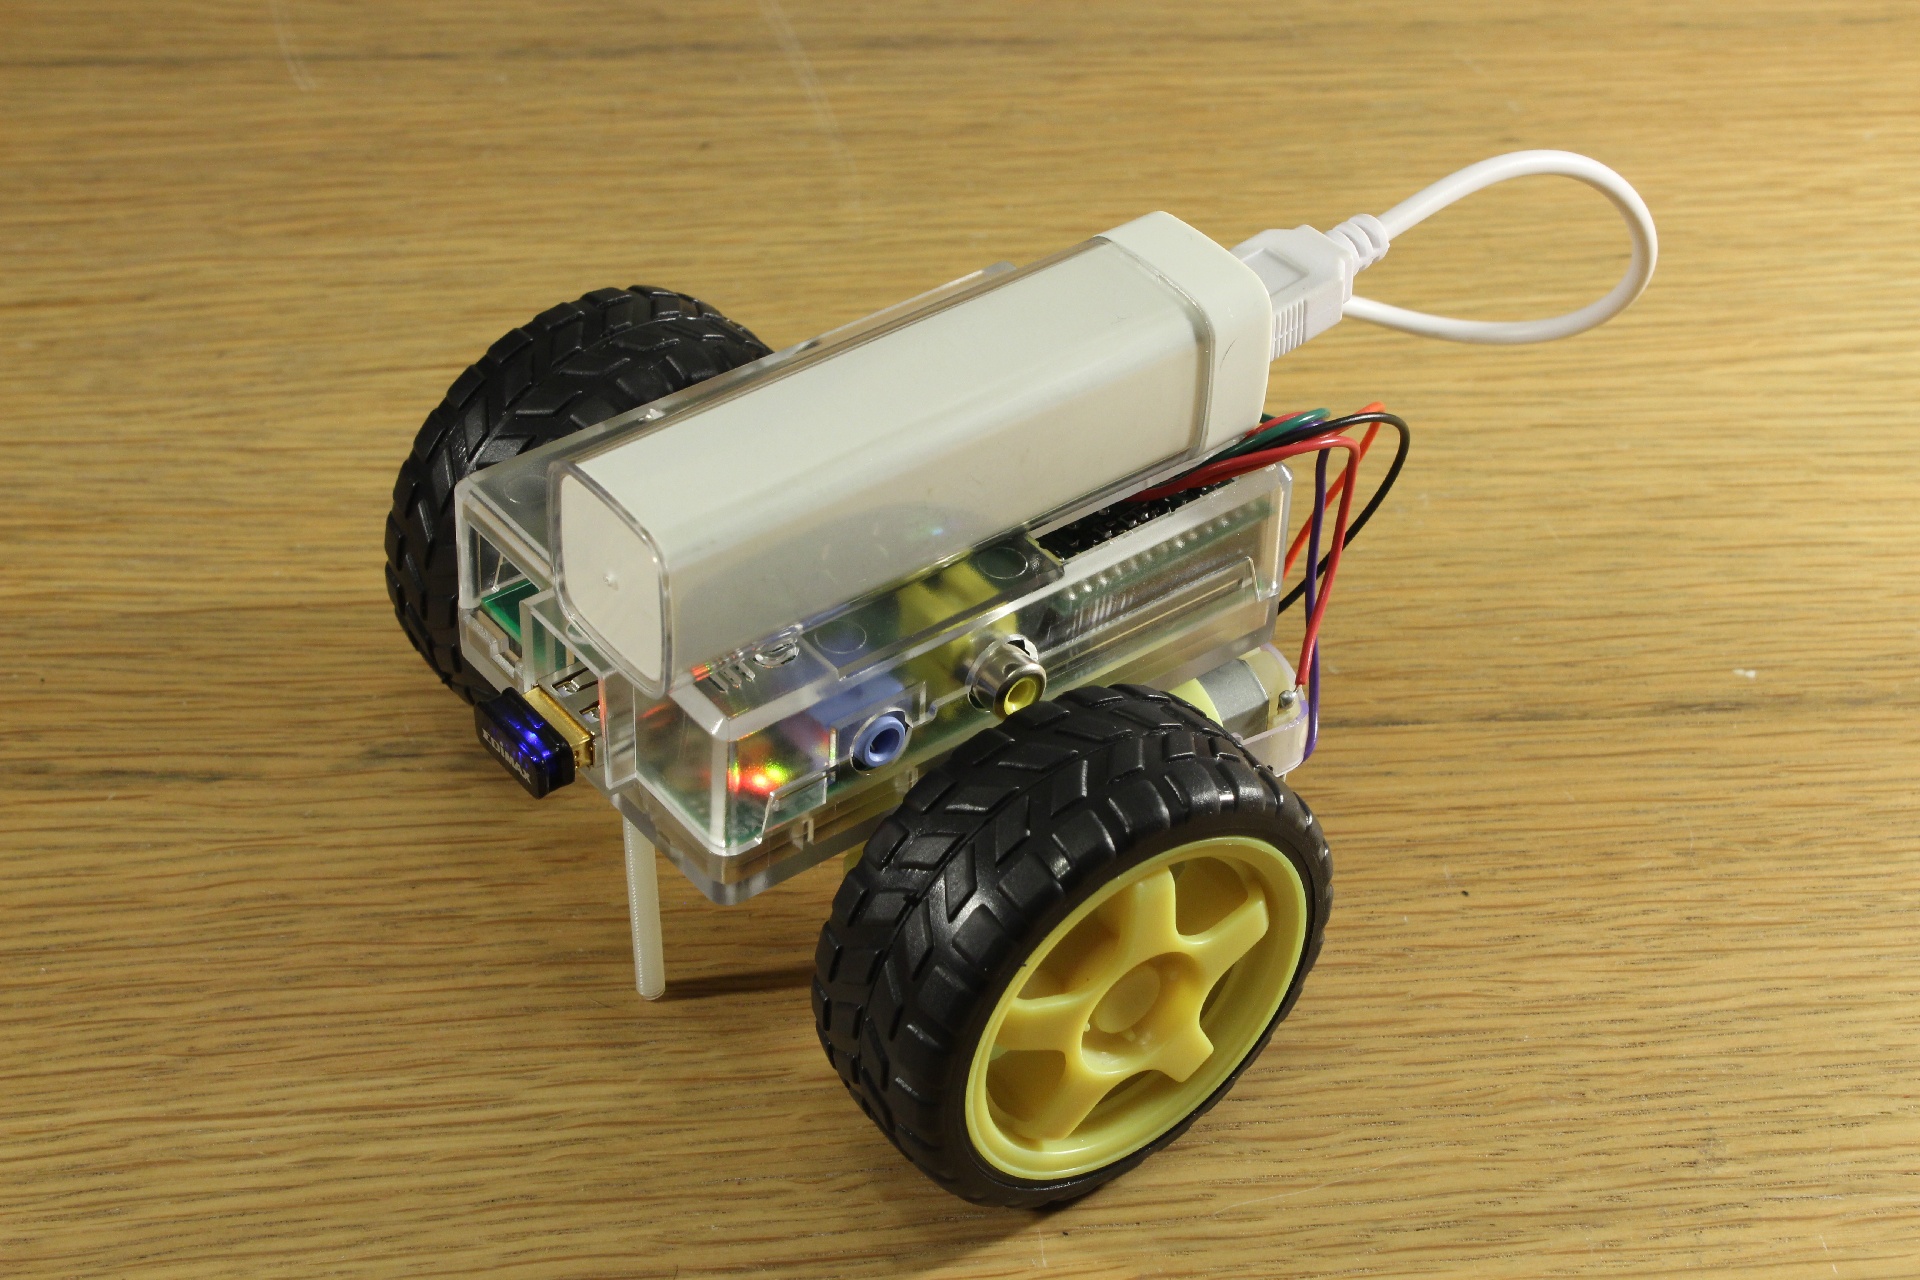
To remotely control your PiCy, you can add a wifi dongle or Bluetooth dongle and try the radio control example code.
ENJOY!
PiCyPack Kits available here