BattBorg - Power your Raspberry Pi from AA batteries
Connecting your BattBorg
Power off Raspberry Pi. Disconnect USB cable from PC or from AC wall adaptor. This should NOT be plugged in at the same time as the BattBorg, or you could damage the BattBorg, damage the Raspberry Pi or could even apply power the batteries. This device is not a UPS, it is a replacement for a USB power source.
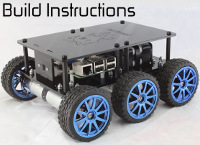
Orient the board as per the image below. Connect the 3 pin cable male side to pins 2,4 and 6 as per image. Make sure white is to the top and you are using the left three holes.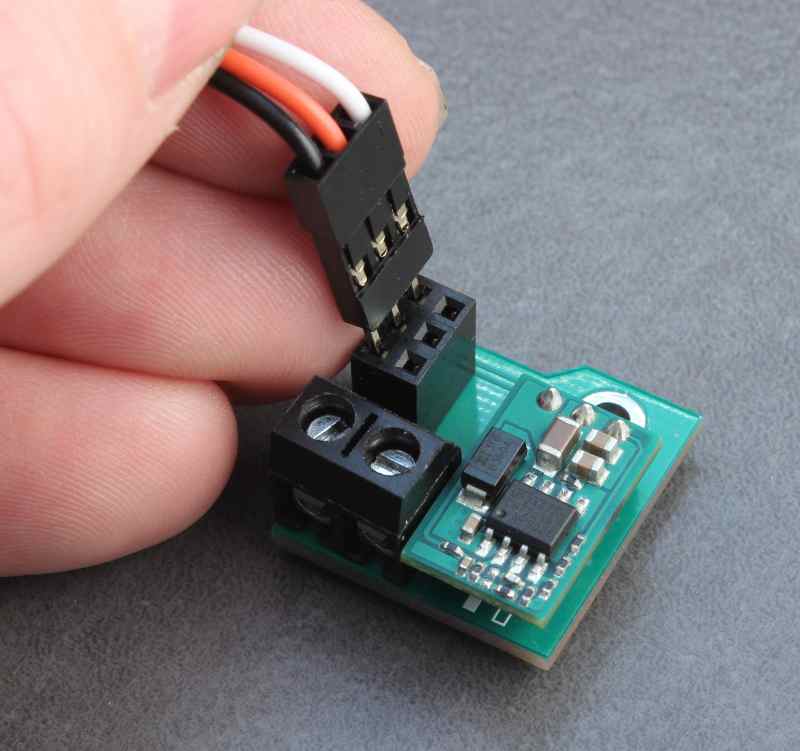
Orient the Pi as shown in diagrams below. Connect the 3 pin header cable to pins 2,4, and 6 of the Raspberry Pi as per image. Make sure white is to the left, and you are using the leftmost pins and the back row.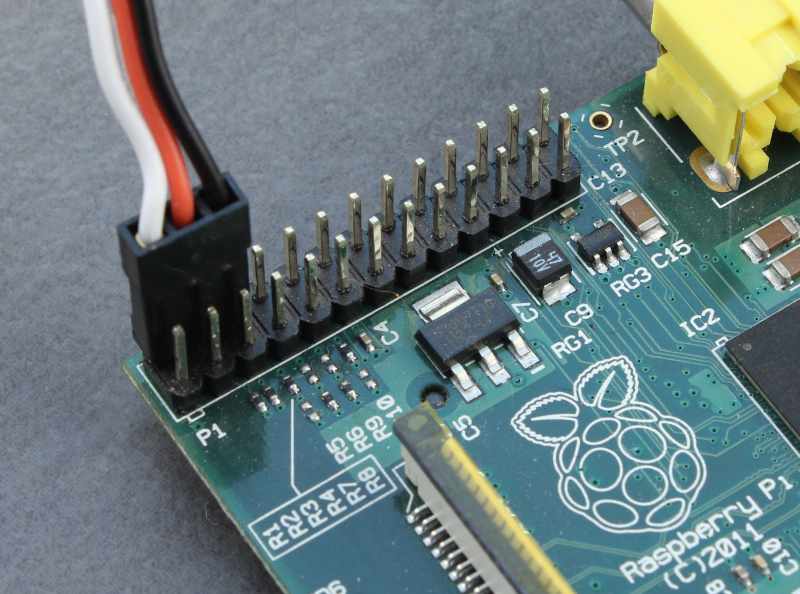
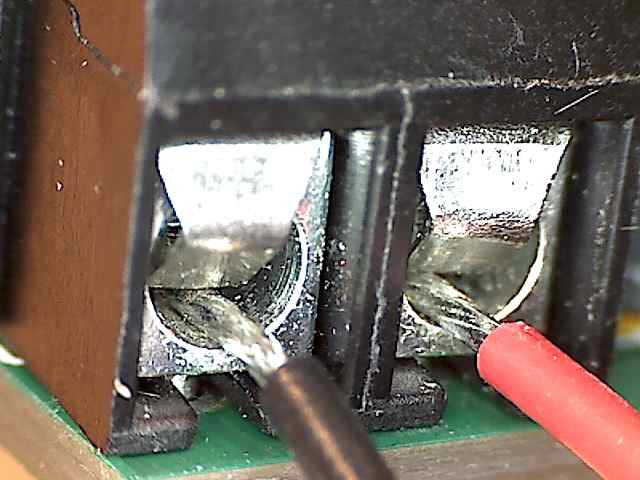
Connect the 9V battery connector. Red to V+, Black to GND.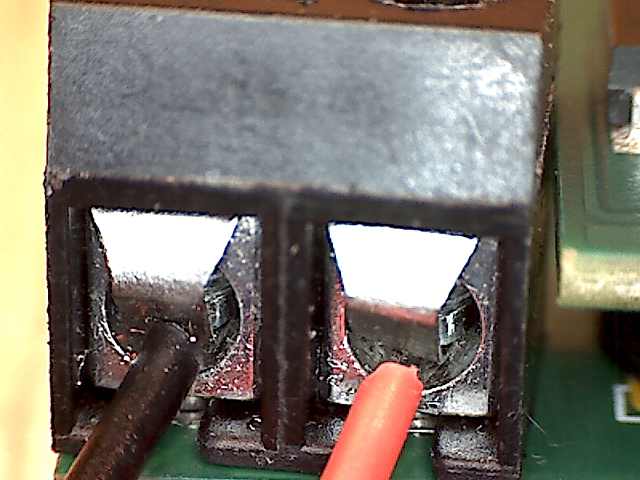
Gently pull on the 9V connector cable to ensure the terminals have correctly grabbed the conductive part of the cable. Make sure it isn't being held by the insulating outer layer of the wire.
The Kits come with a standard connector to keep the cost down. These are a little more tricky to connect. The 22AWG cable's connectors have thicker, longer, stronger conductors and are easier to connect.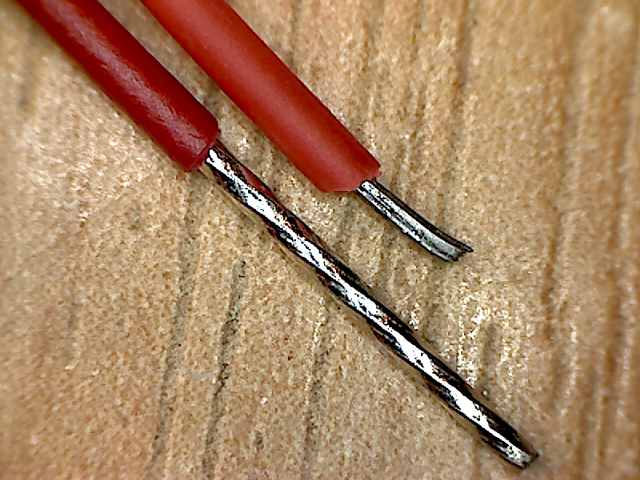
Double check all these connections and only if they are correct, connect the battery pack to the 9V cable.
The BattBorg is intended to power your Raspberry Pi from batteries instead of from a wall charger or USB cable. Do NOT power the Raspberry Pi from the USB and the BattBorg at the same time.