Getting started with the Raspberry Pi Zero W WiFi and Bluetooth

Probably the biggest drawback of using a Raspberry Pi Zero to build robots was the lack of connectivity compared to the Pi 3. This made connecting to WiFi networks and Bluetooth controllers a pain involving USB dongles and often a USB hub. But not any more thanks to the new Pi Zero W :)
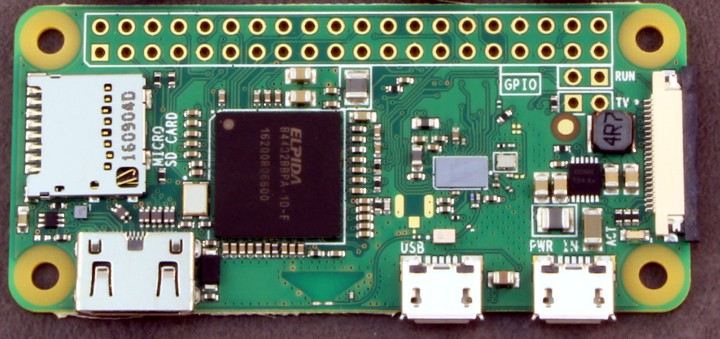
The old verses the new
First of all how do we check which model of Raspberry Pi Zero we have?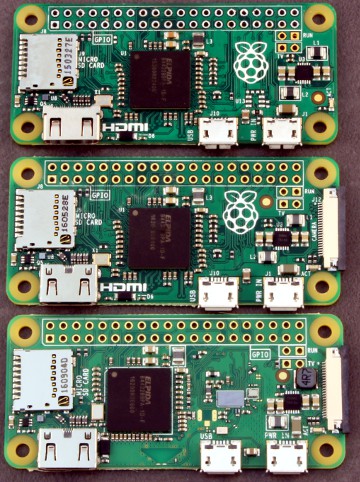
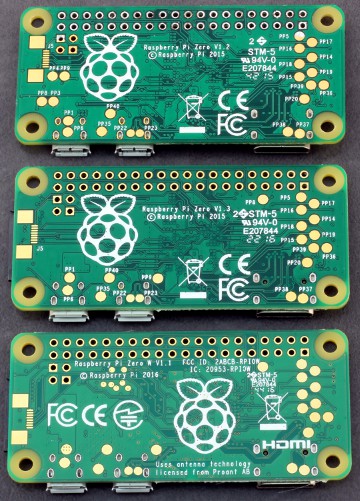
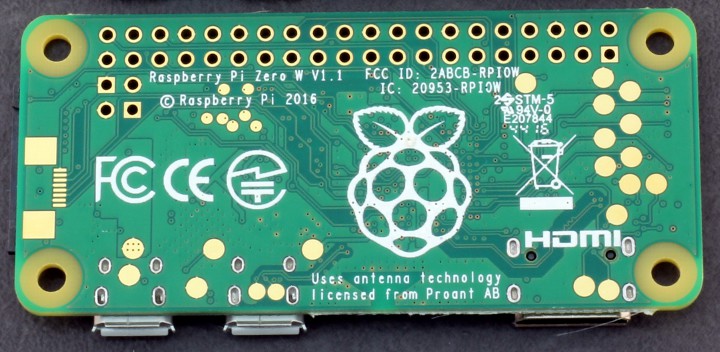
The first giveaway are the numbers on the back:
- Raspberry Pi Zero v1.2
This is the really early Pi Zero - Raspberry Pi Zero v1.3
This is the second version Pi Zero which added the camera port - Raspberry Pi Zero W v1.1
This is the latest Pi Zero W with WiFi and Bluetooth :D
Then there are a few distinctive parts on the front of the board:
- If there is no camera port then you have the early Pi Zero
- If you do have both a camera port and a Raspberry Pi logo on the front then it is the second version Pi Zero
- If there is no Raspberry Pi logo on the front but instead some components then you have the latest Pi Zero W with WiFi and Bluetooth :)
These new components add the same awesome WiFi and Bluetooth that are built-in to the Raspberry Pi 3. This means you can have a nice small board controlling your robot without the large USB dongles holding it back!
Setting up the WiFi
You will probably want to setup the WiFi before anything else to get access to the internet. This will be needed for most installs and updating anyway.
The WiFi can be configured either using the GUI or from a terminal. We suggest using the GUI as it is simpler.
The first thing to do is make a note of the WiFi name (SSID) and WiFi password (key). For most modern WiFi routers this is written either underneath or on the back of the router itself.
For the examples below I will use the following details:
- Wireless name (SSID): BTHub5-6NC8
- Wireless password (key): mypassword
Setup via the GUI
Setting up via the GUI is very straight forward. First click on the disconnected WiFi icon on the right of the taskbar.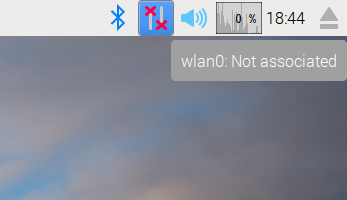
Select the network that has the correct name for your router.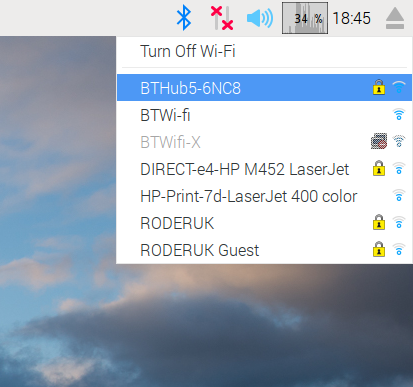
You should get a dialog asking for the WiFi key.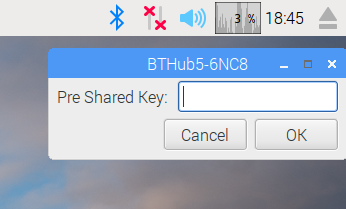
Enter the key for your WiFi network and press Ok.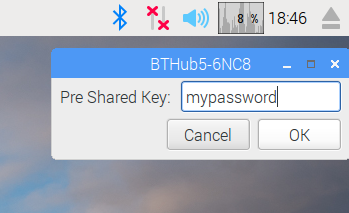
The WiFi icon should go to the typical WiFi image to indicate it is connected. If you click on the icon there should be a green tick next to your network name.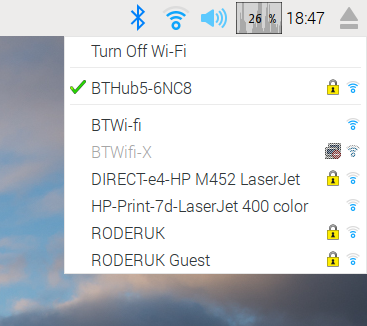
Setup via the terminal
First open up the configuration for the wireless networks using this command:
sudo nano /etc/wpa_supplicant/wpa_supplicant.conf
It should look something like this: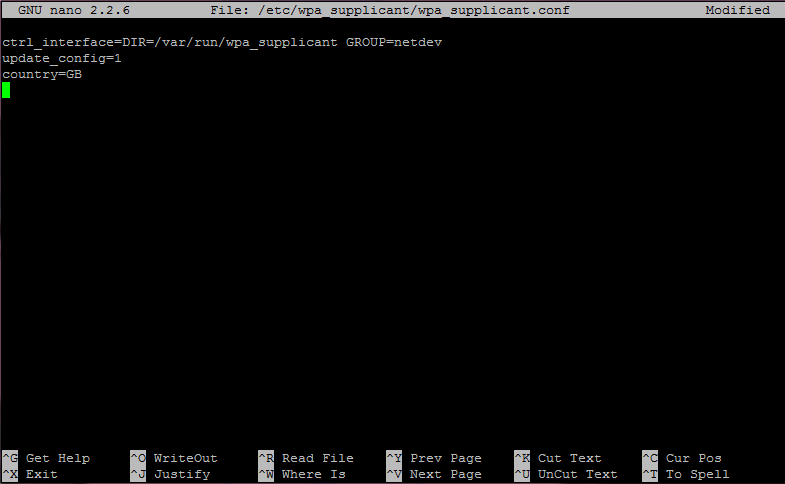
Add this section to the bottom of the file:
network={
    ssid="Your WiFi name"
    psk="Your WiFi password"
}
for example:
network={
    ssid="BTHub5-6NC8"
    psk="mypassword"
}
The file should now look something like: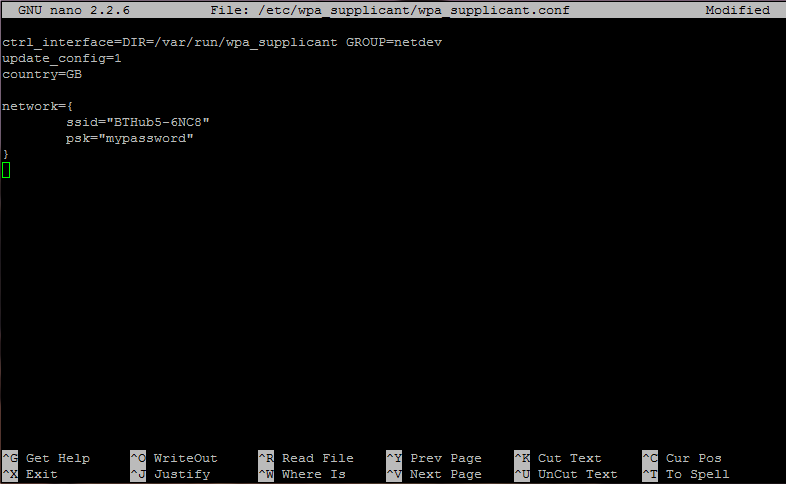
Save and exit using CTRL+X, Y, ENTER.
If we are lucky everything is now ready to go. If not restart the Raspberry Pi to get the WiFi to restart:
sudo reboot
Connecting to a Bluetooth device
For this guide we will look at connecting to a phone with Bluetooth. If you want to setup a PS3 controller using Bluetooth have a look at our How to connect a PS3 remote to the new Pi Zero WiFi guide.
Step 1 - Enable Bluetooth on the device
For devices like smart phones you should start by enabling the Bluetooth functionality and setting the device to be discoverable.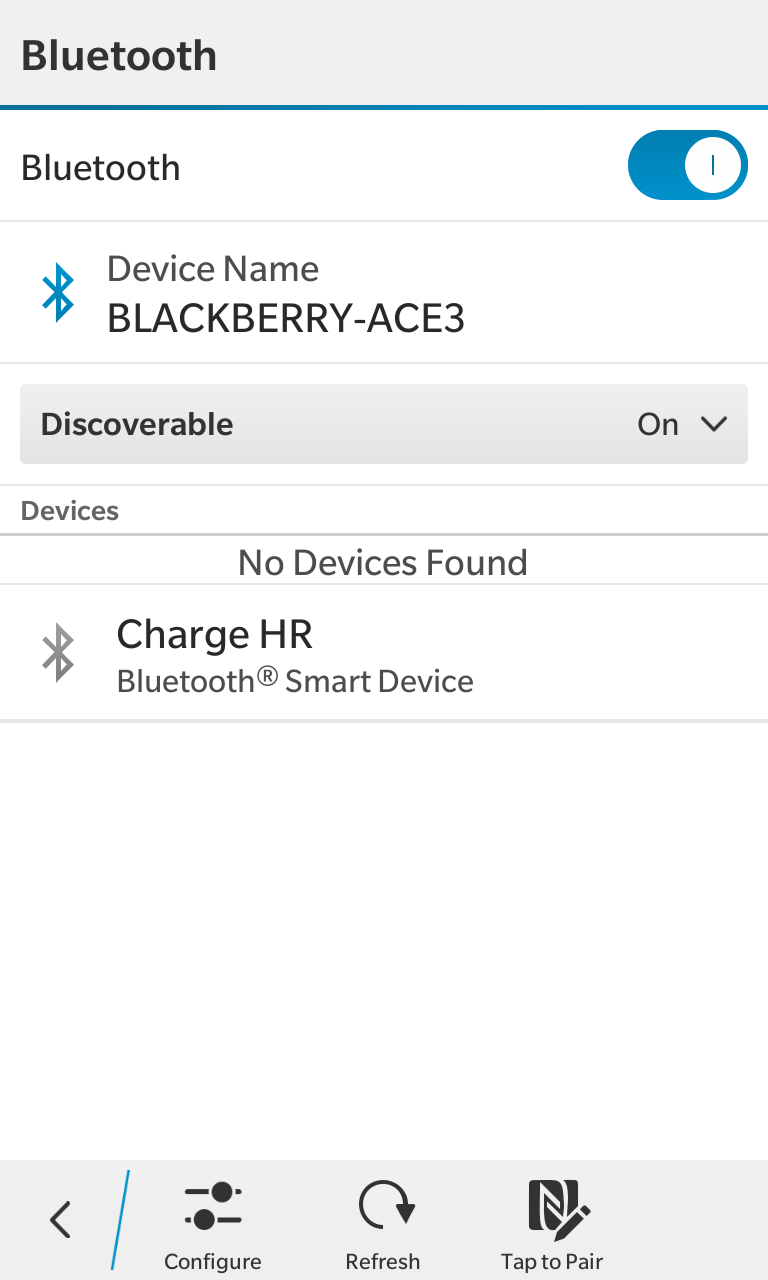
Step 2 - Enable Bluetooth descovery
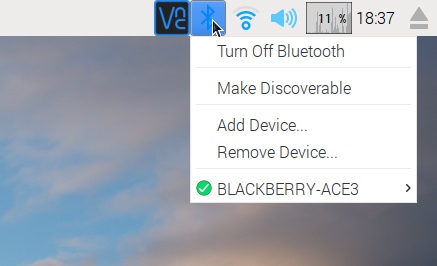
First click on the Bluetooth icon and select "Make Discoverable".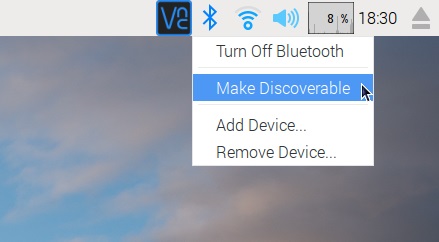
At this point the Bluetooth icon should be flashing.
Step 3 - Add the Raspberry Pi on your phone
Now refresh the device list on your phone, "raspberrypi" should now be available.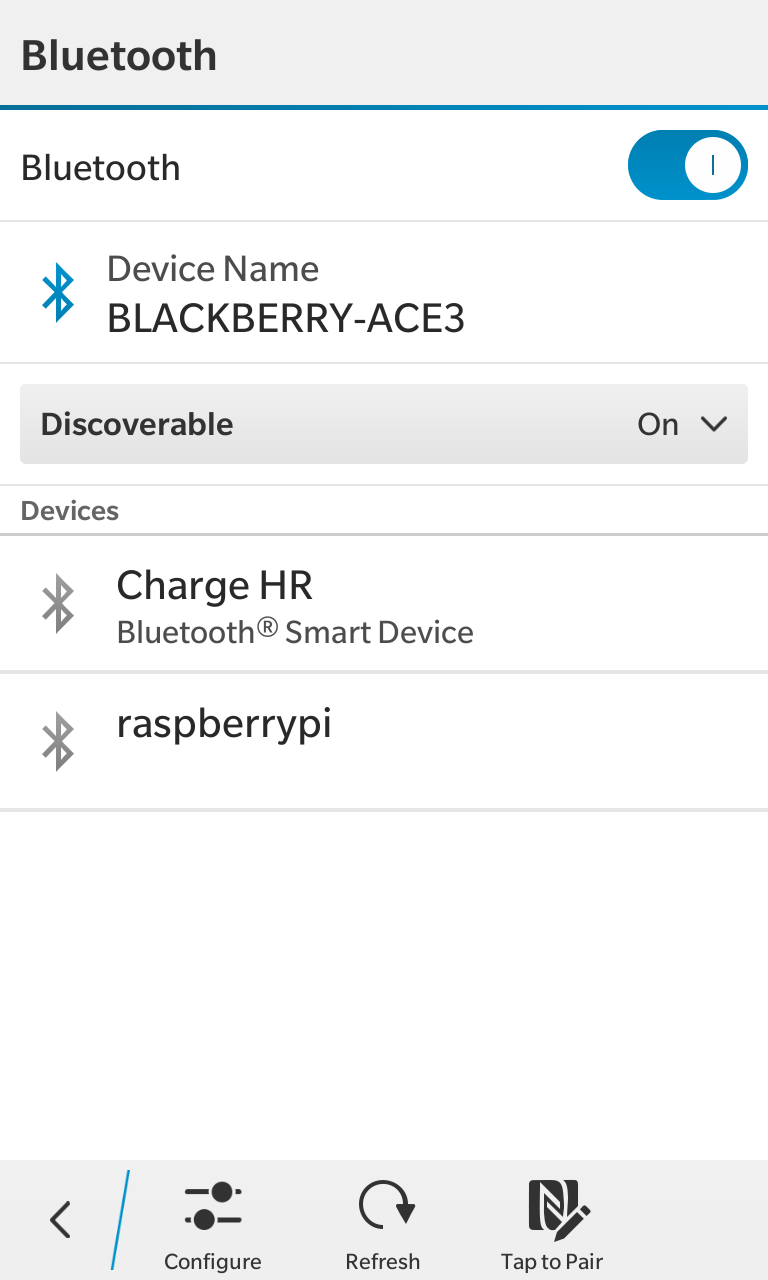
Select it to pair.
Step 4 - Confirm the connection
The Raspberry Pi should come up with a pairing request dialog.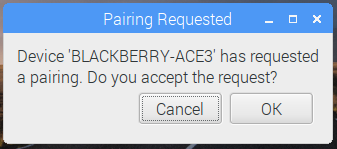
Select Ok to confirm the pairing. You should get a success dialog.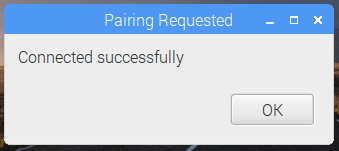
Step 5 - Connect your device
To finish the setup go back to your phone and select the "raspberrypi" device to connect.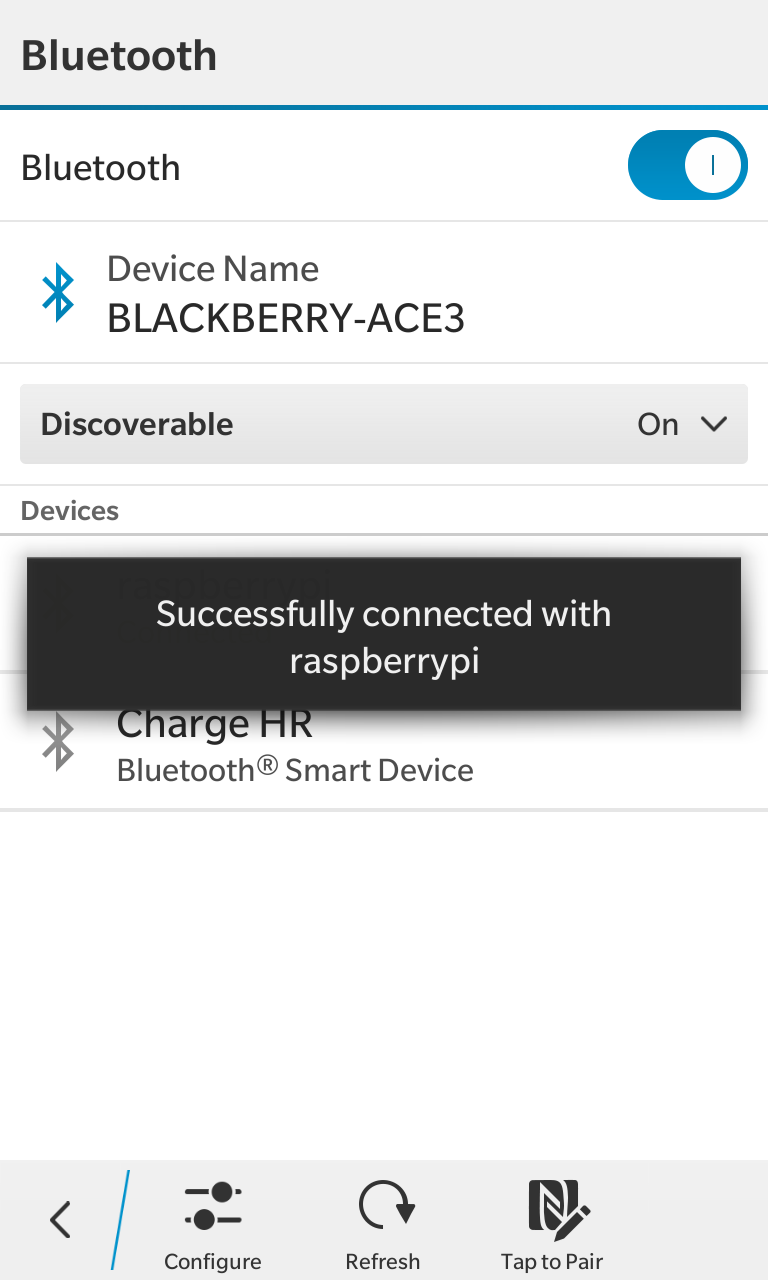
If you click on the Bluetooth icon again your device should now be listed with a green tick.